Design a Template
Dashboard
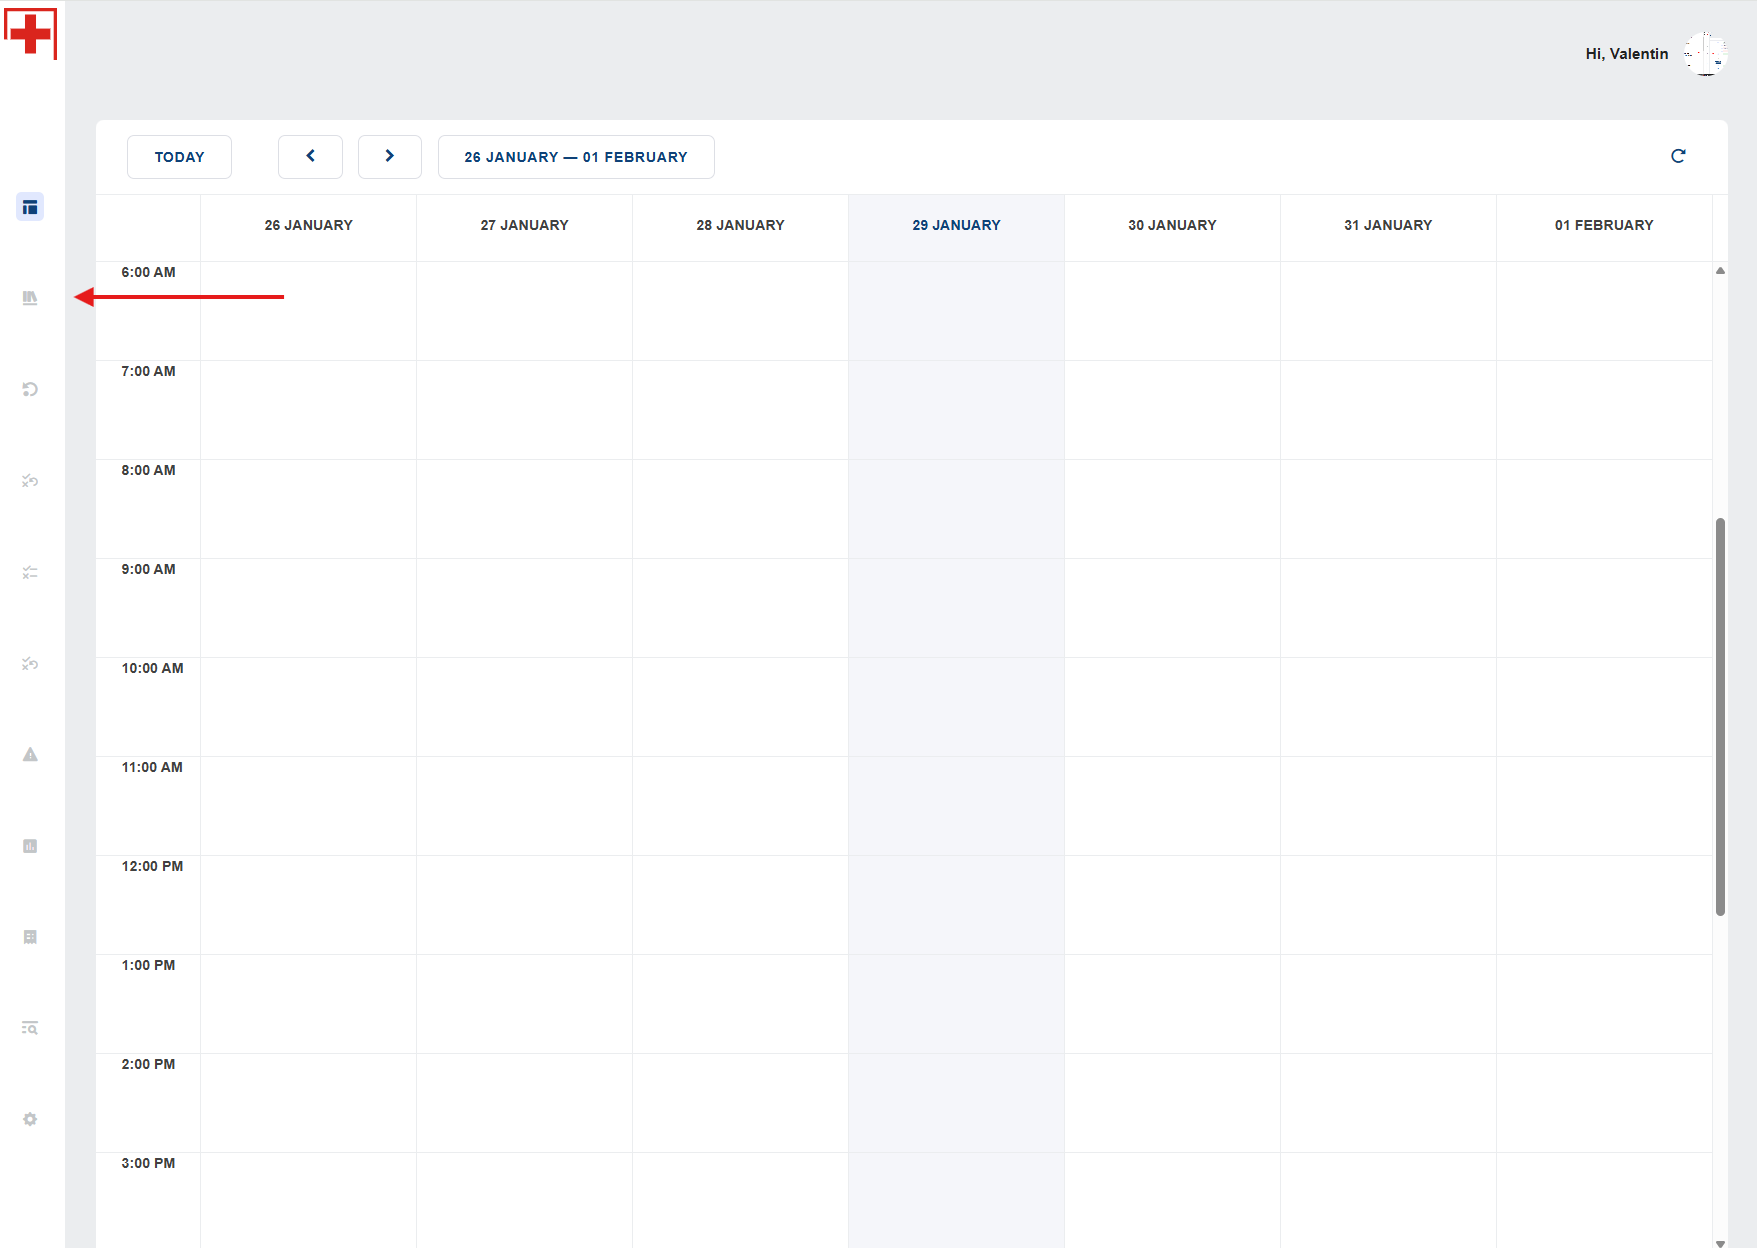
Here is the starting point. You can access different menu items on the sidebar to the left. Click on the second icon from the top to access our 'Template Library'.
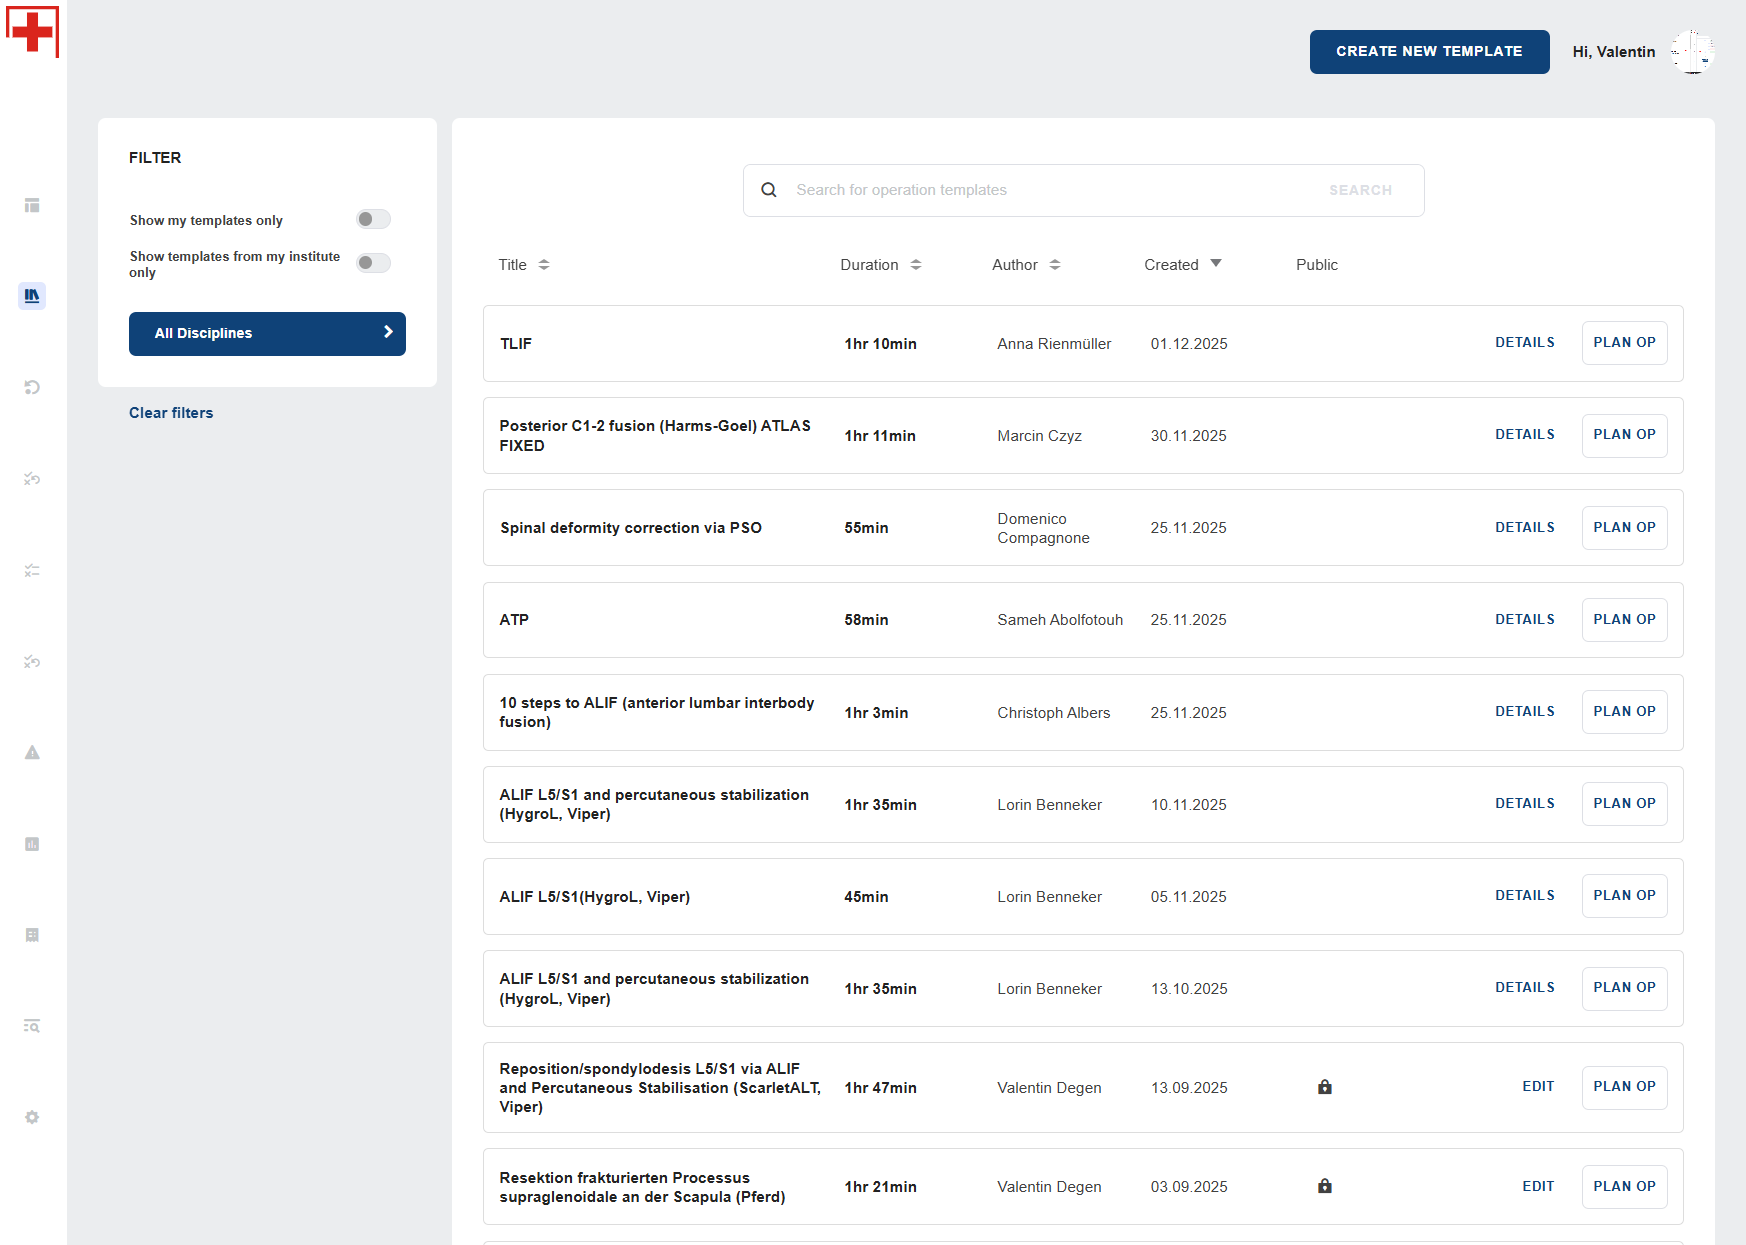
Template Library Overview
The Template Library is your central hub for accessing surgical workflow templates on IMPedia. It includes a growing collection of public and your private templates, which you can explore, preview, and adapt to your needs or design your own template.

How to Design a Template
Follow the steps below to create a structured surgical workflow template using the IMPedia web application:
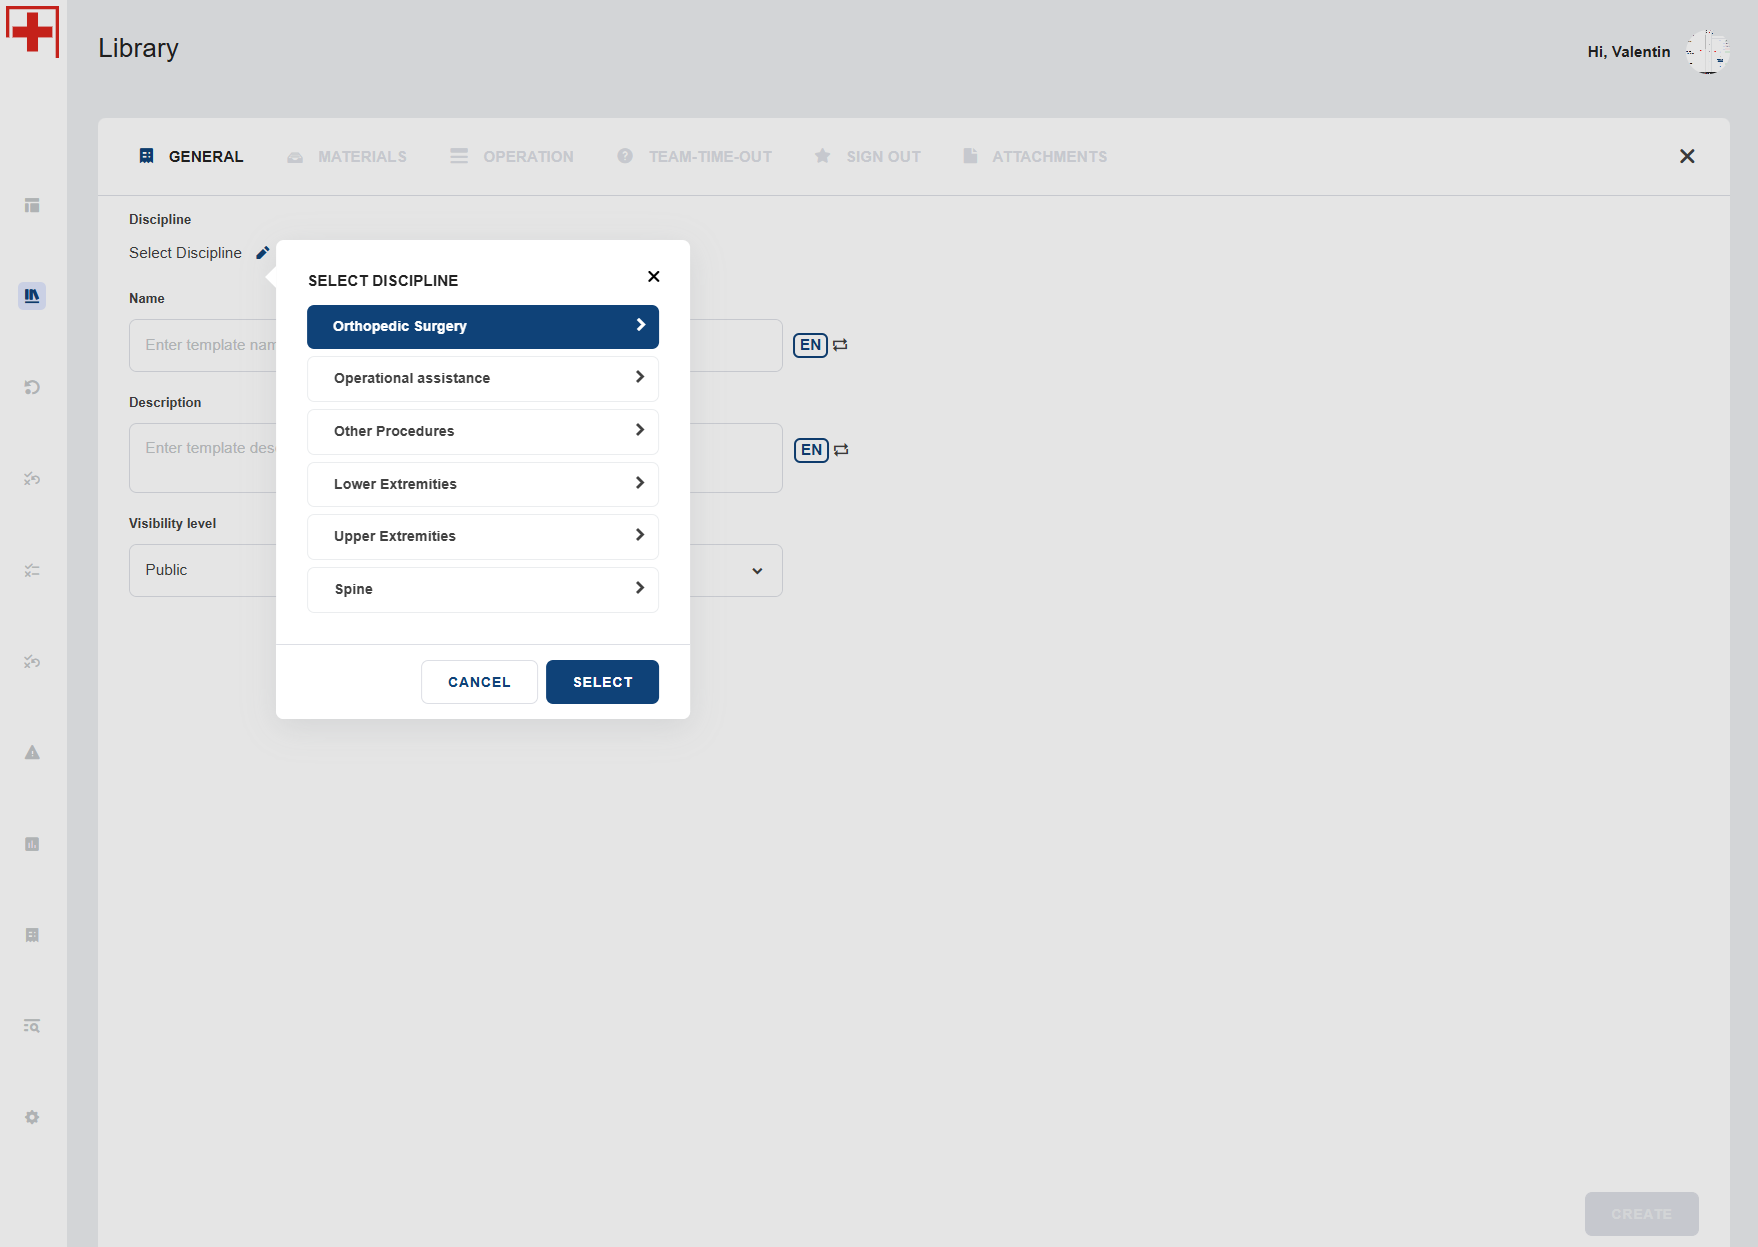
1. Define Basic Template Information
- Select the discipline (e.g. Orthopedic Surgery) and speciality (e.g. Spine)
- Enter a clear and recognisable title for your procedure
- Set the visibility: choose between public (shared across all users) or private (for personal use only)
2.1. Add Required Materials
- Enter all materials, implants, and extra items needed for the procedure
- Organise by category or surgical phase as needed
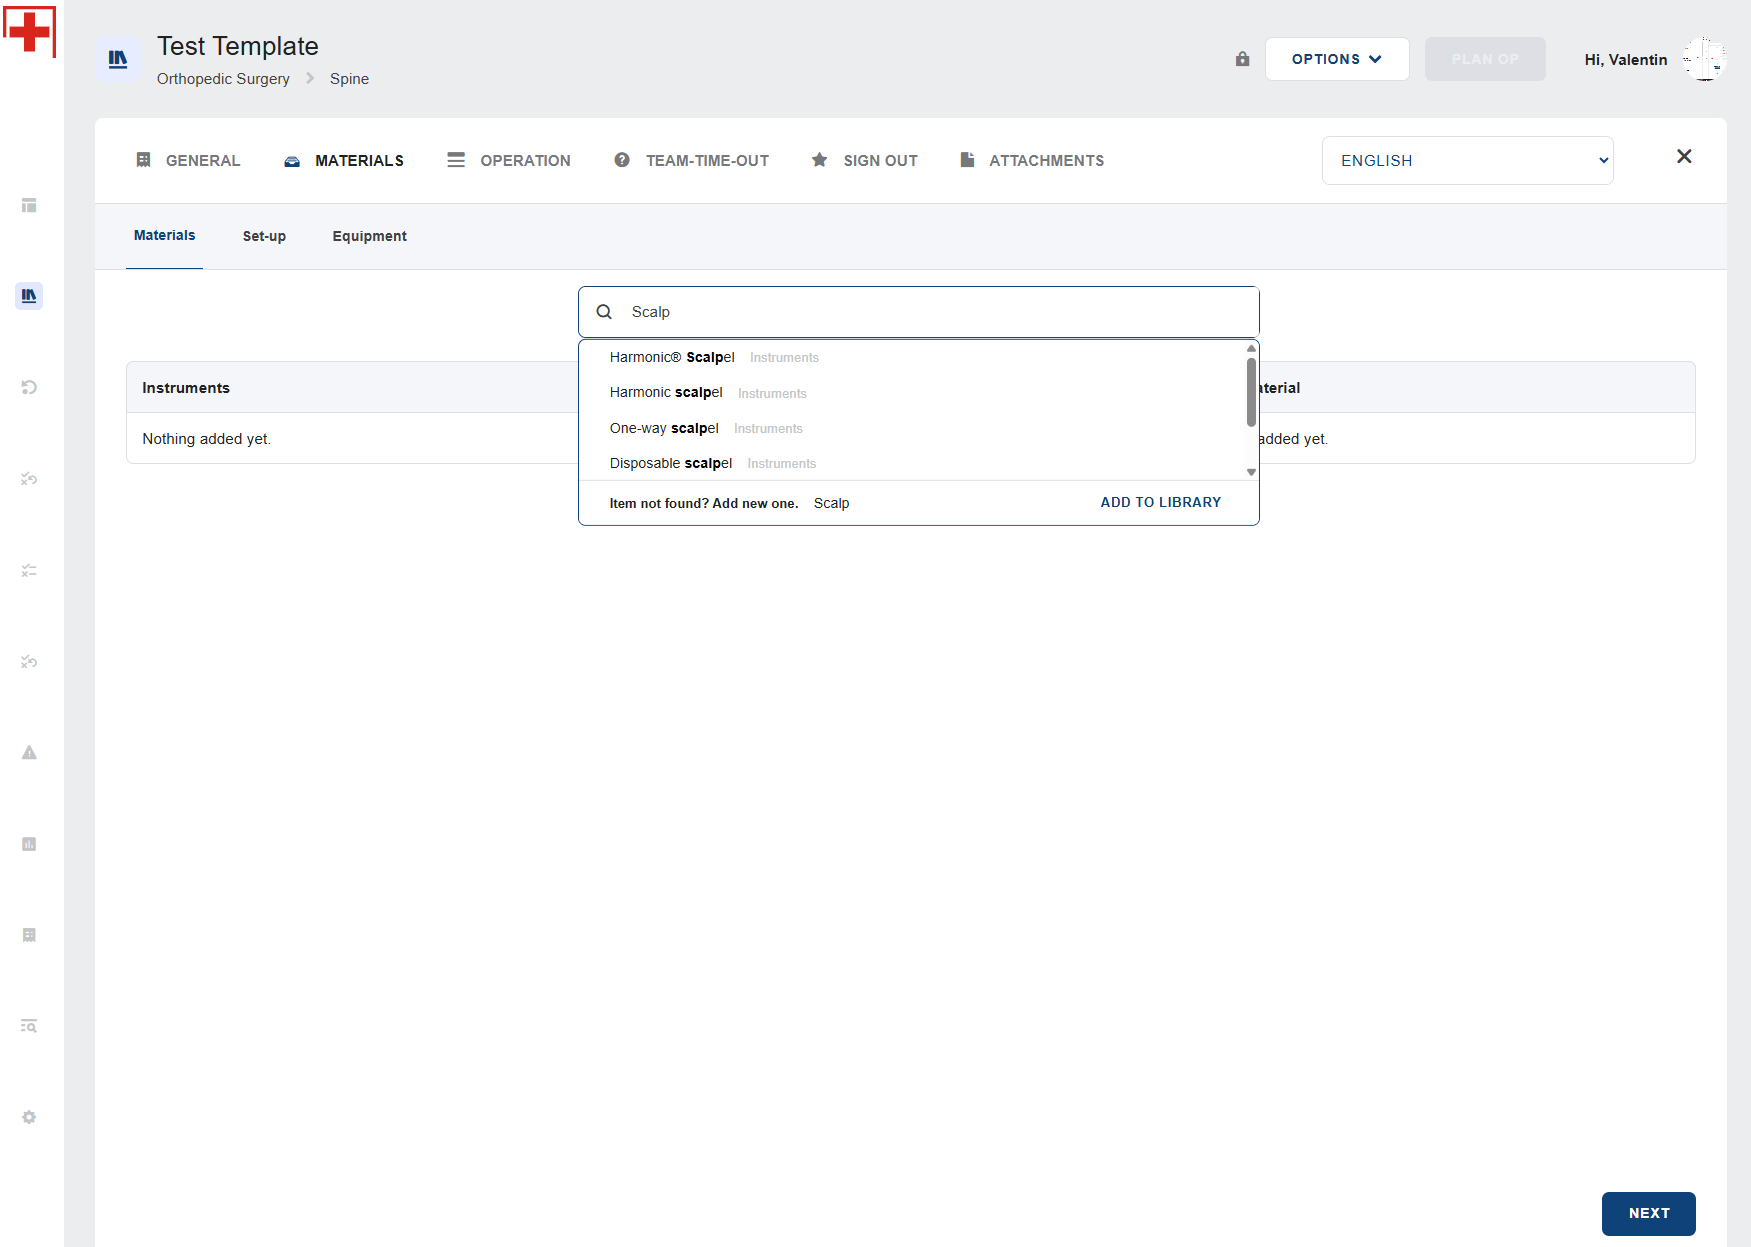
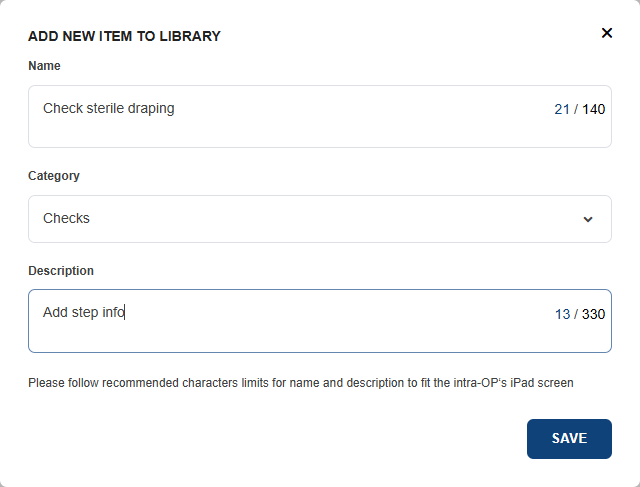
In case your material is not in our library yet:
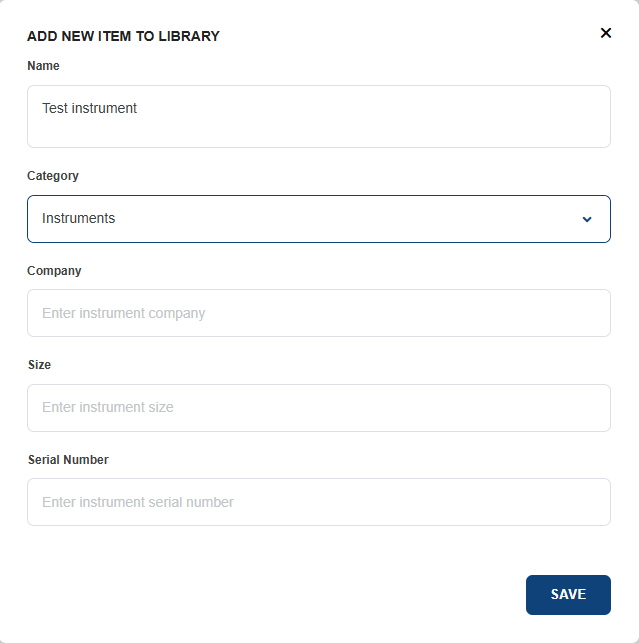
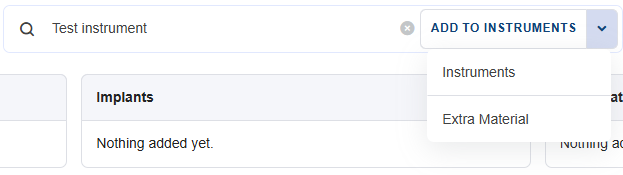
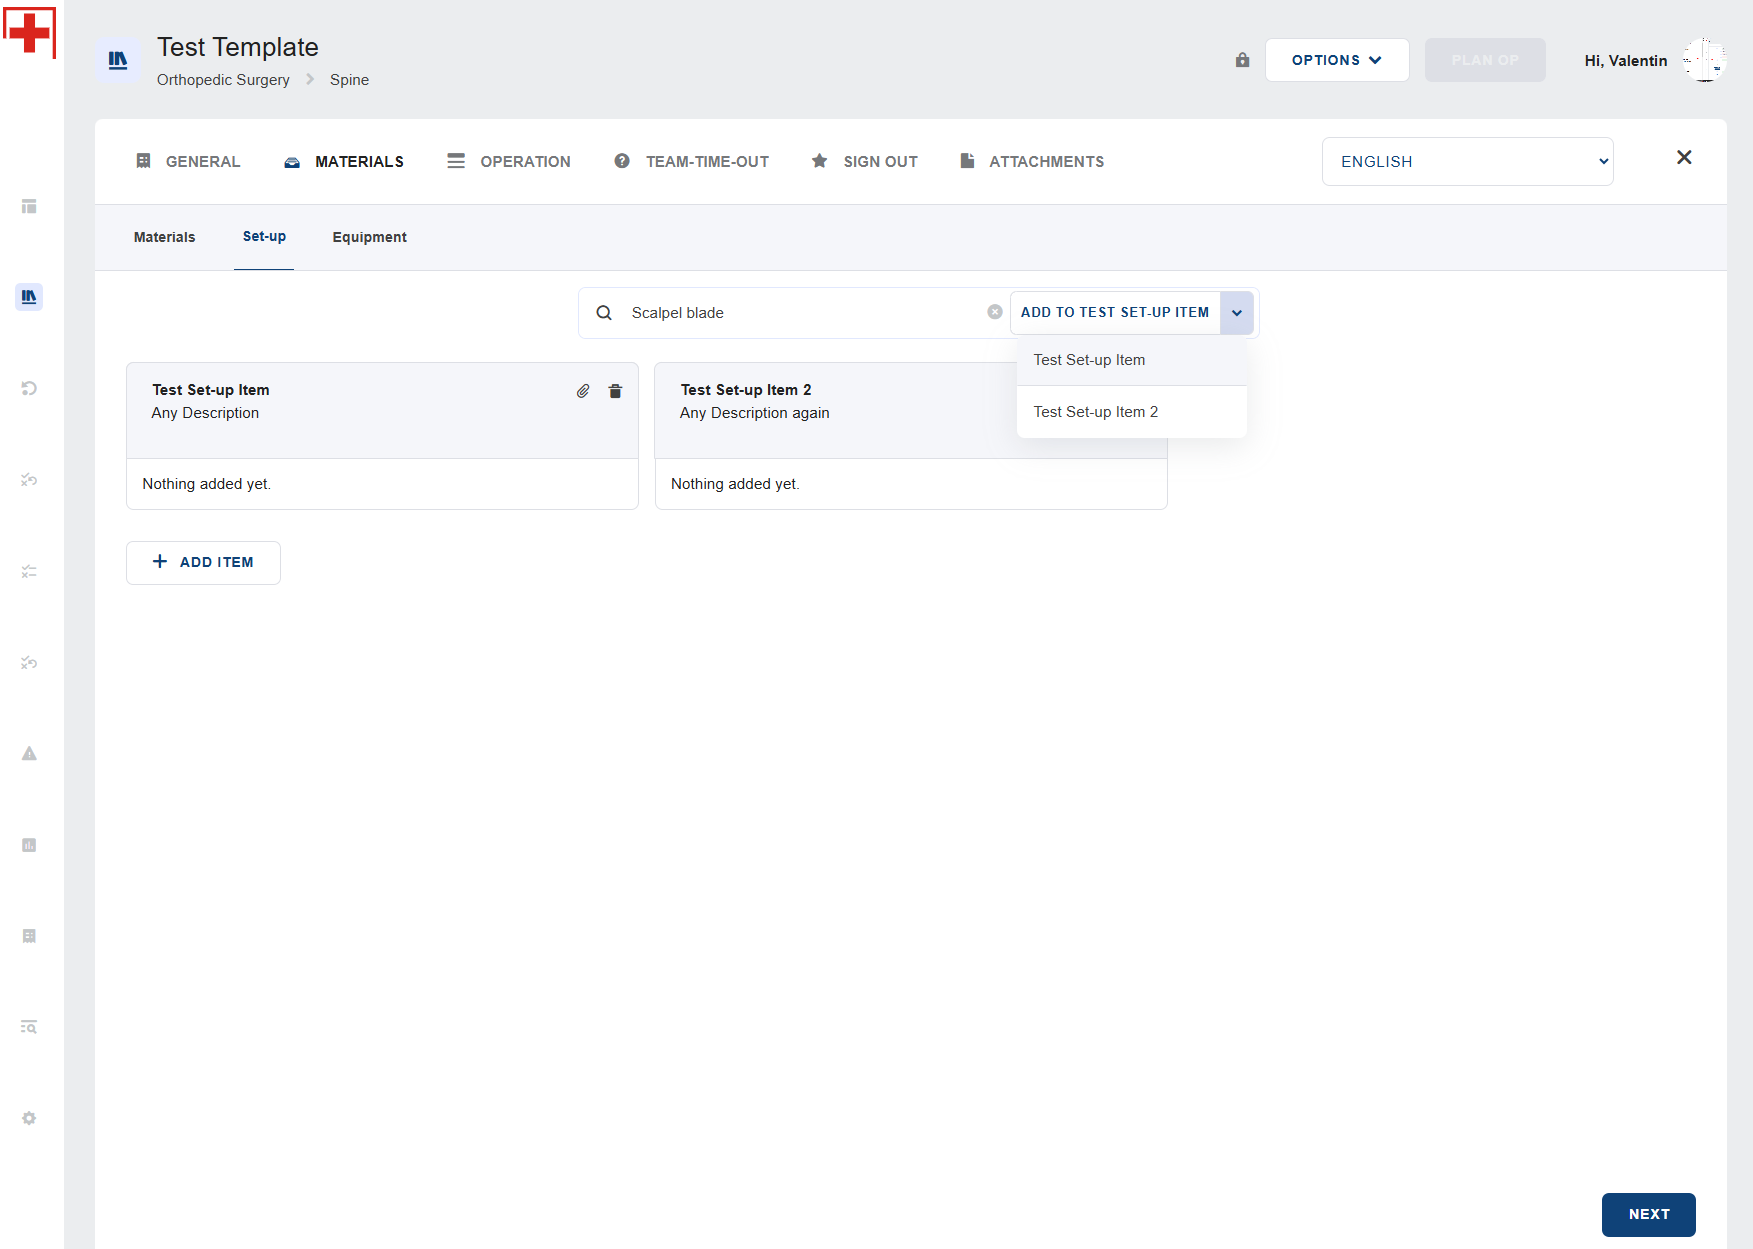
2.2. Define the OR Set-Up
Create set-up items like instrument tables or patient positioning steps and add attachments to visualize tables or set-up steps.
- Define instrument tables, patient positioning, and any relevant pre-op setup information


2.3. Add Equipment and Devices
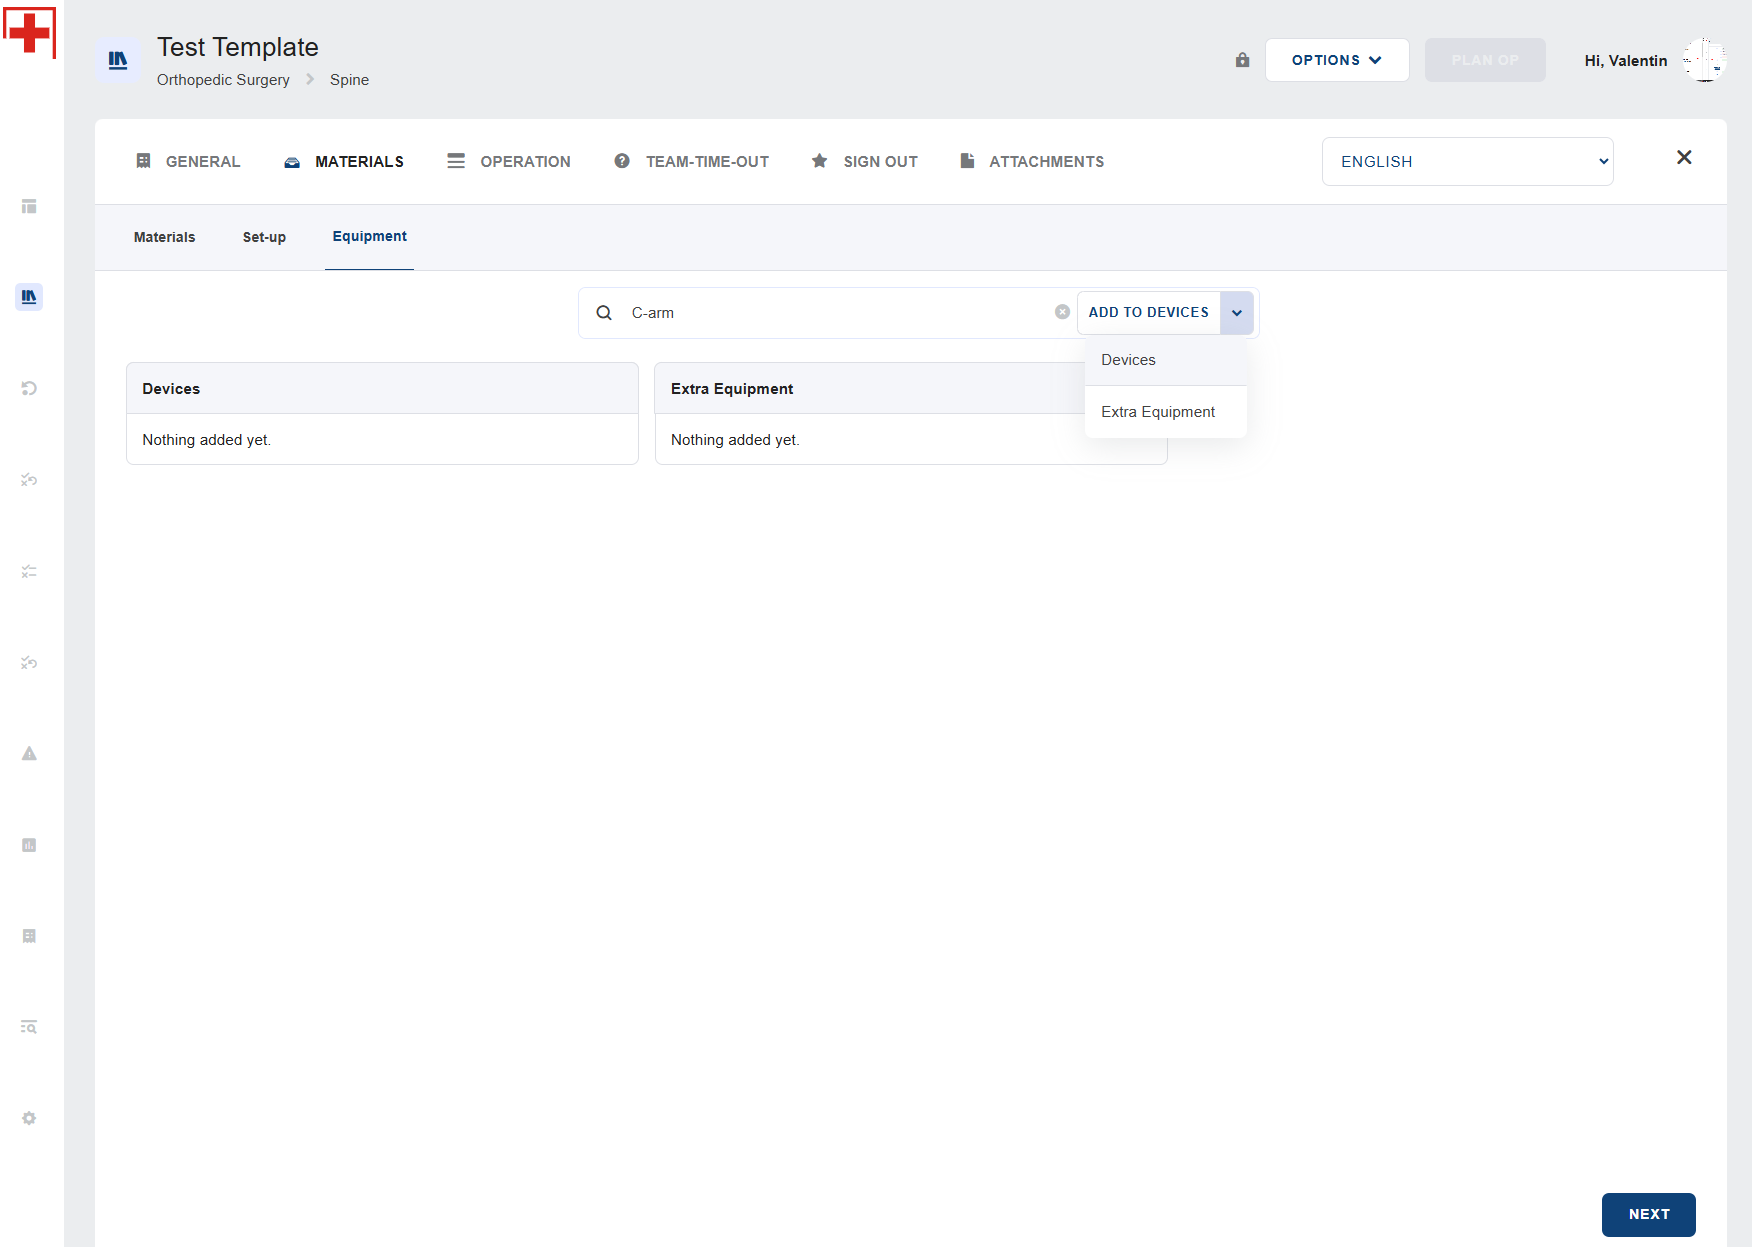
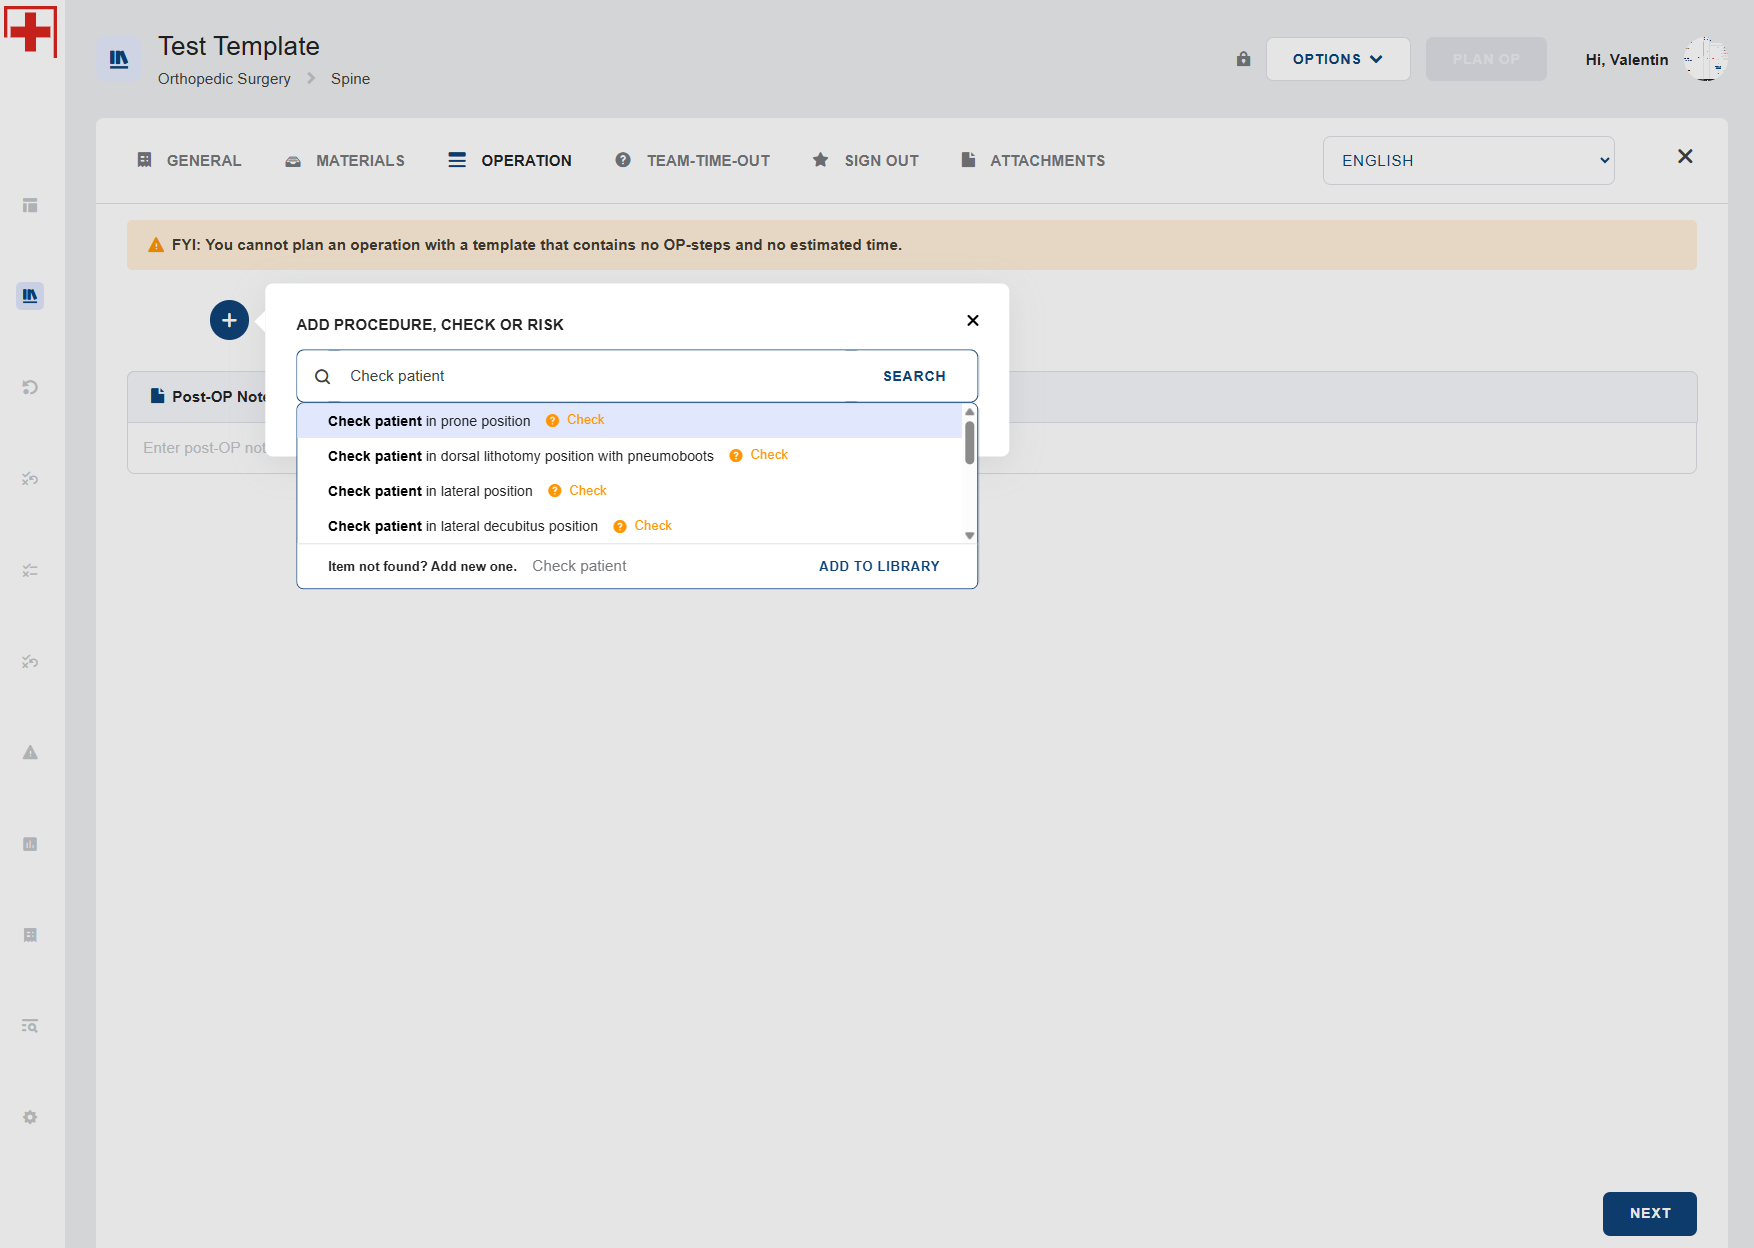
3.1. Add Procedure Steps
- Add individual steps using the step editor:
- Choose the type: Procedure, Check, or Risk
- For each step, define a title and a short description (incl. additional info, e.g. materials used)
- Optionally assign the step to a specific role
3.2. Attach Media to Steps
- Enhance your template by adding videos, images, or PDFs to support learning or clarify complex steps
- Use the upload function in each step or item section

3.3. Add Postoperative Notes
- Use the Post-OP Notes section to provide:
- Follow-up instructions
- Complication watch-outs
- Recovery and discharge guidelines
- This section is especially useful for training, continuity, and handovers

4. Attachments Overview
- Use the Attachments Overview section to:
- View and manage all media files attached to steps across your template
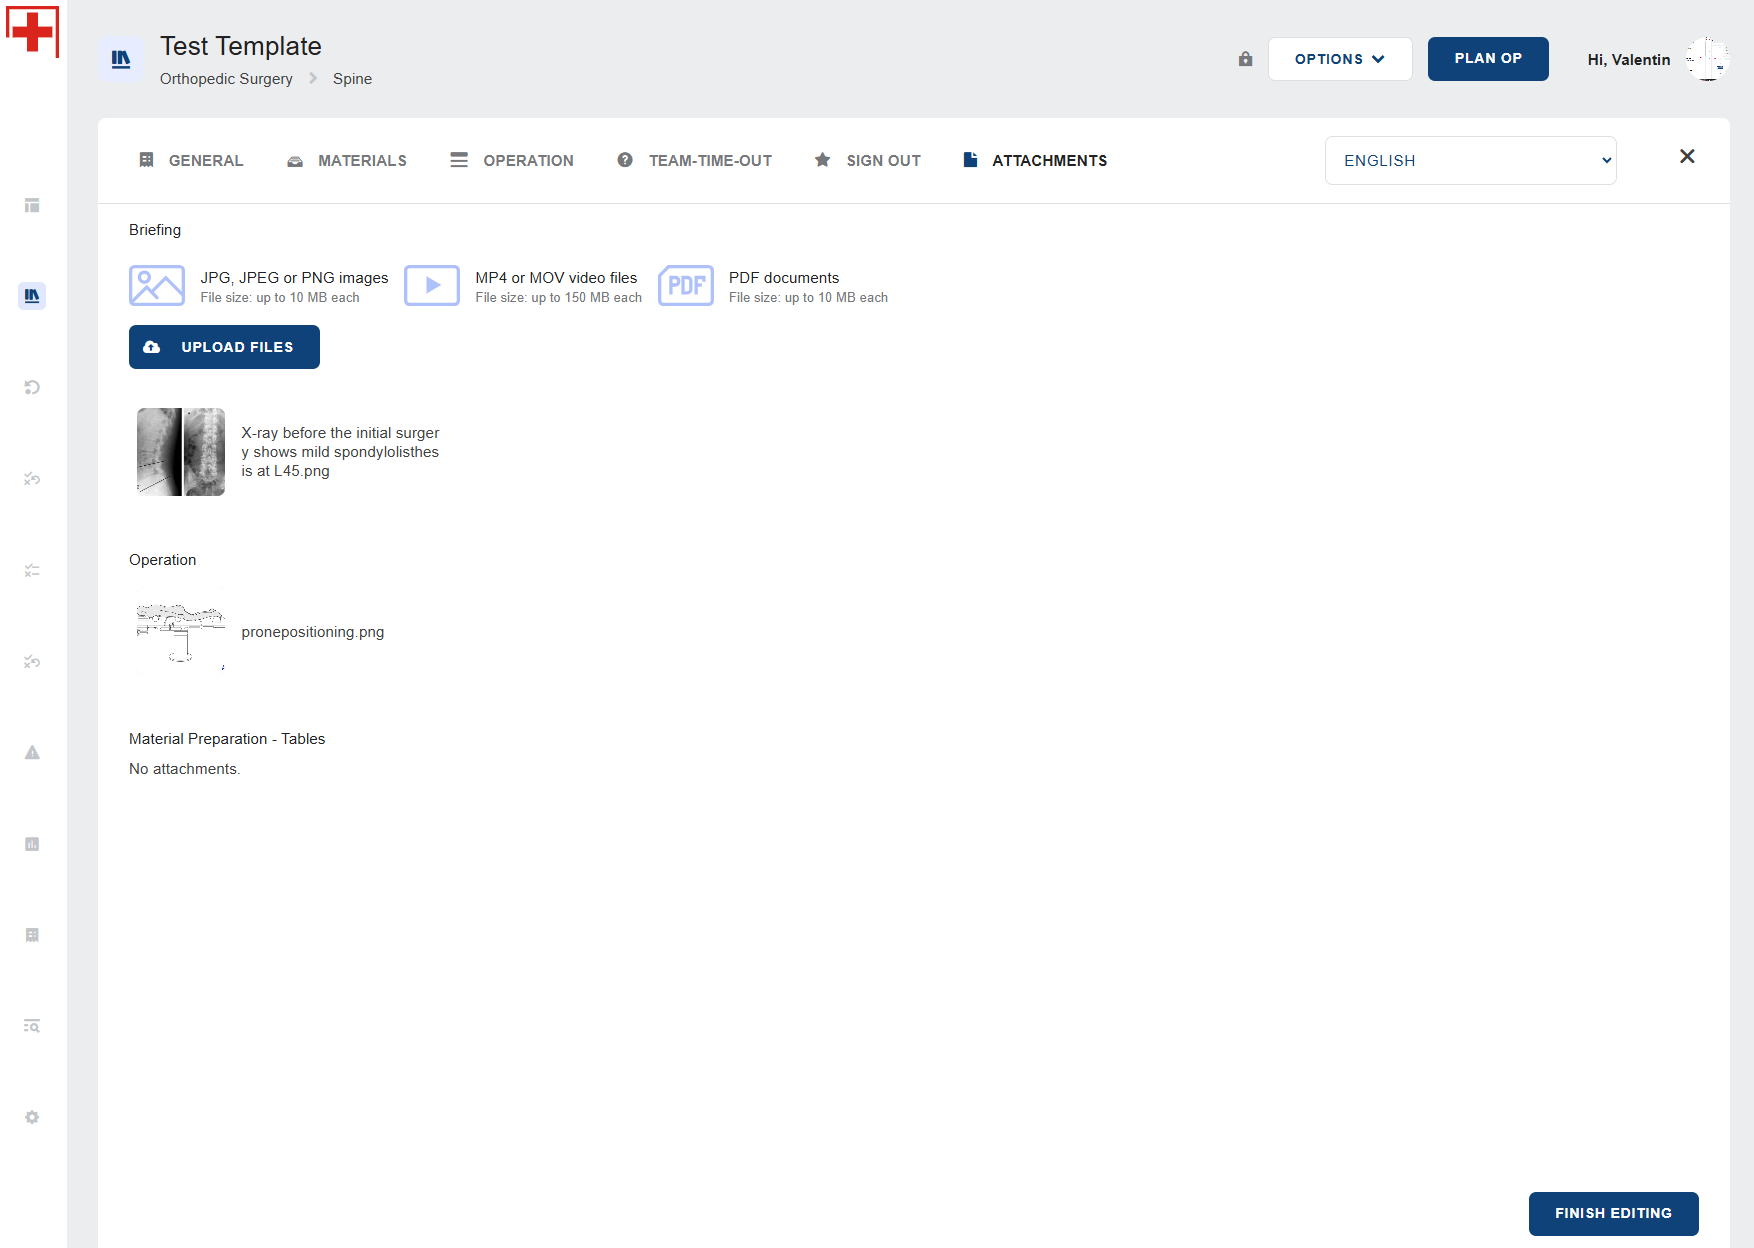

5. 'Finish Editing'
