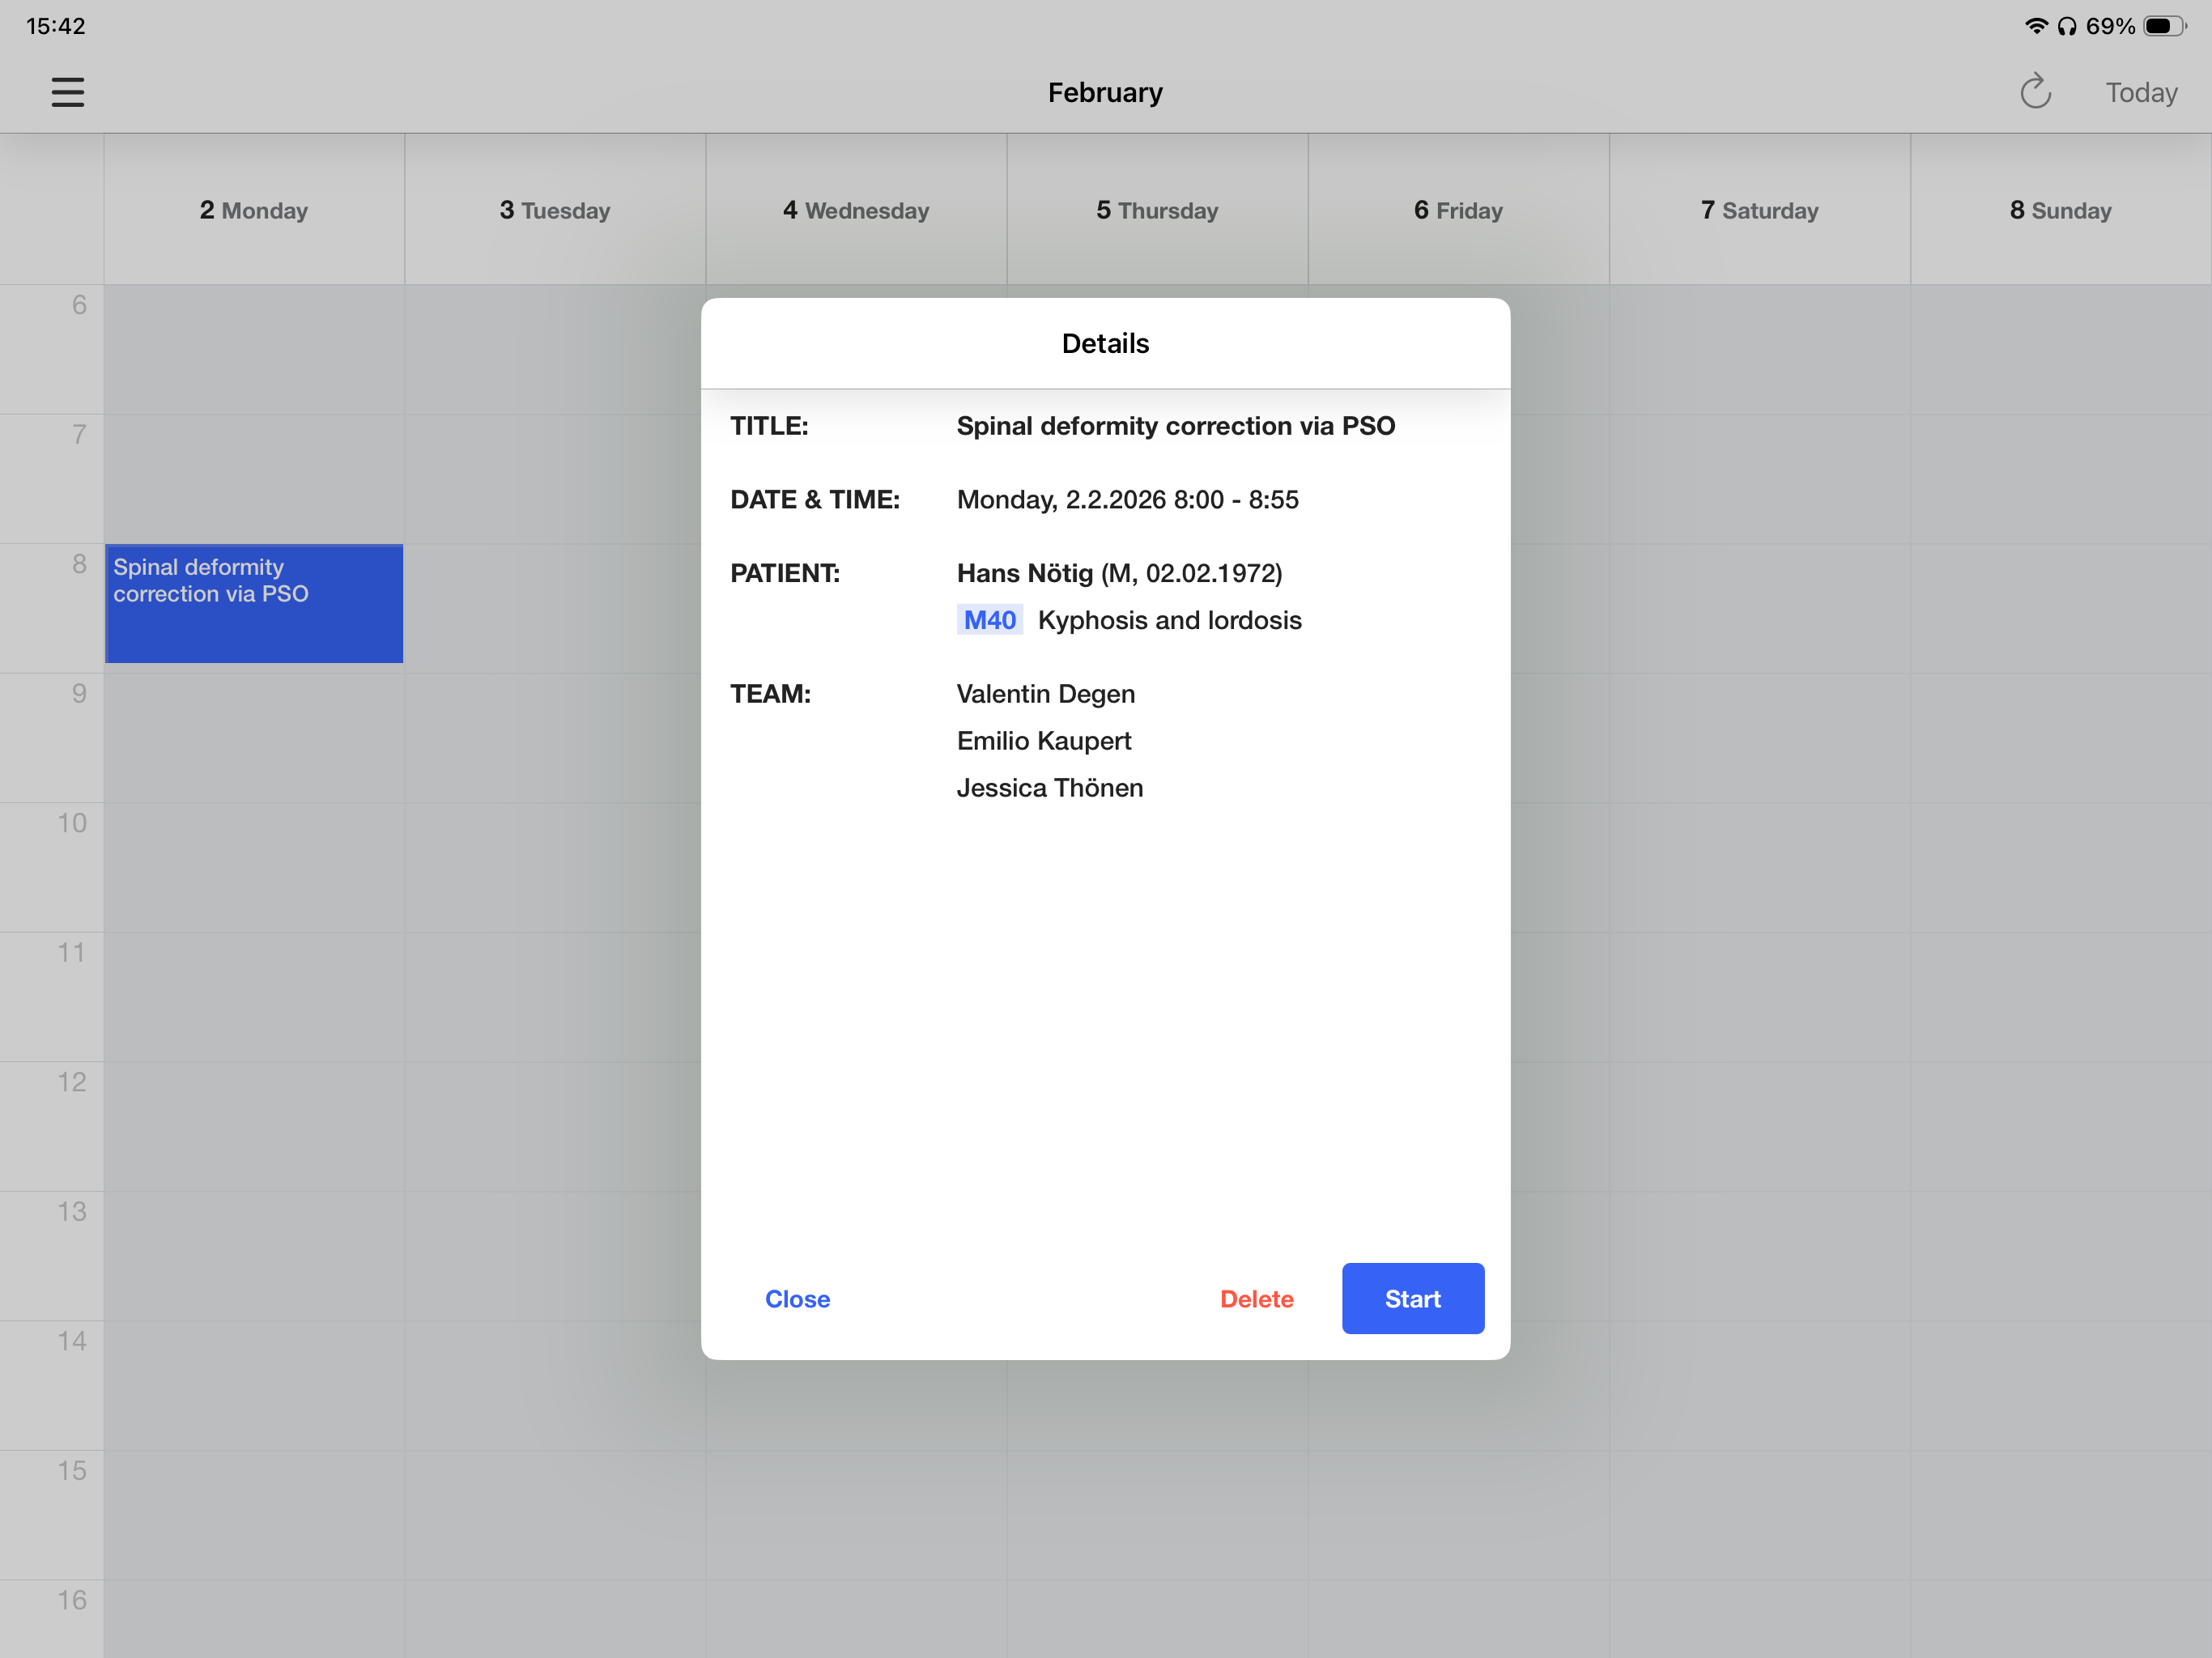
Start-OP planned on Web-Application
Start planned OP on the Dashboard by clicking on it.
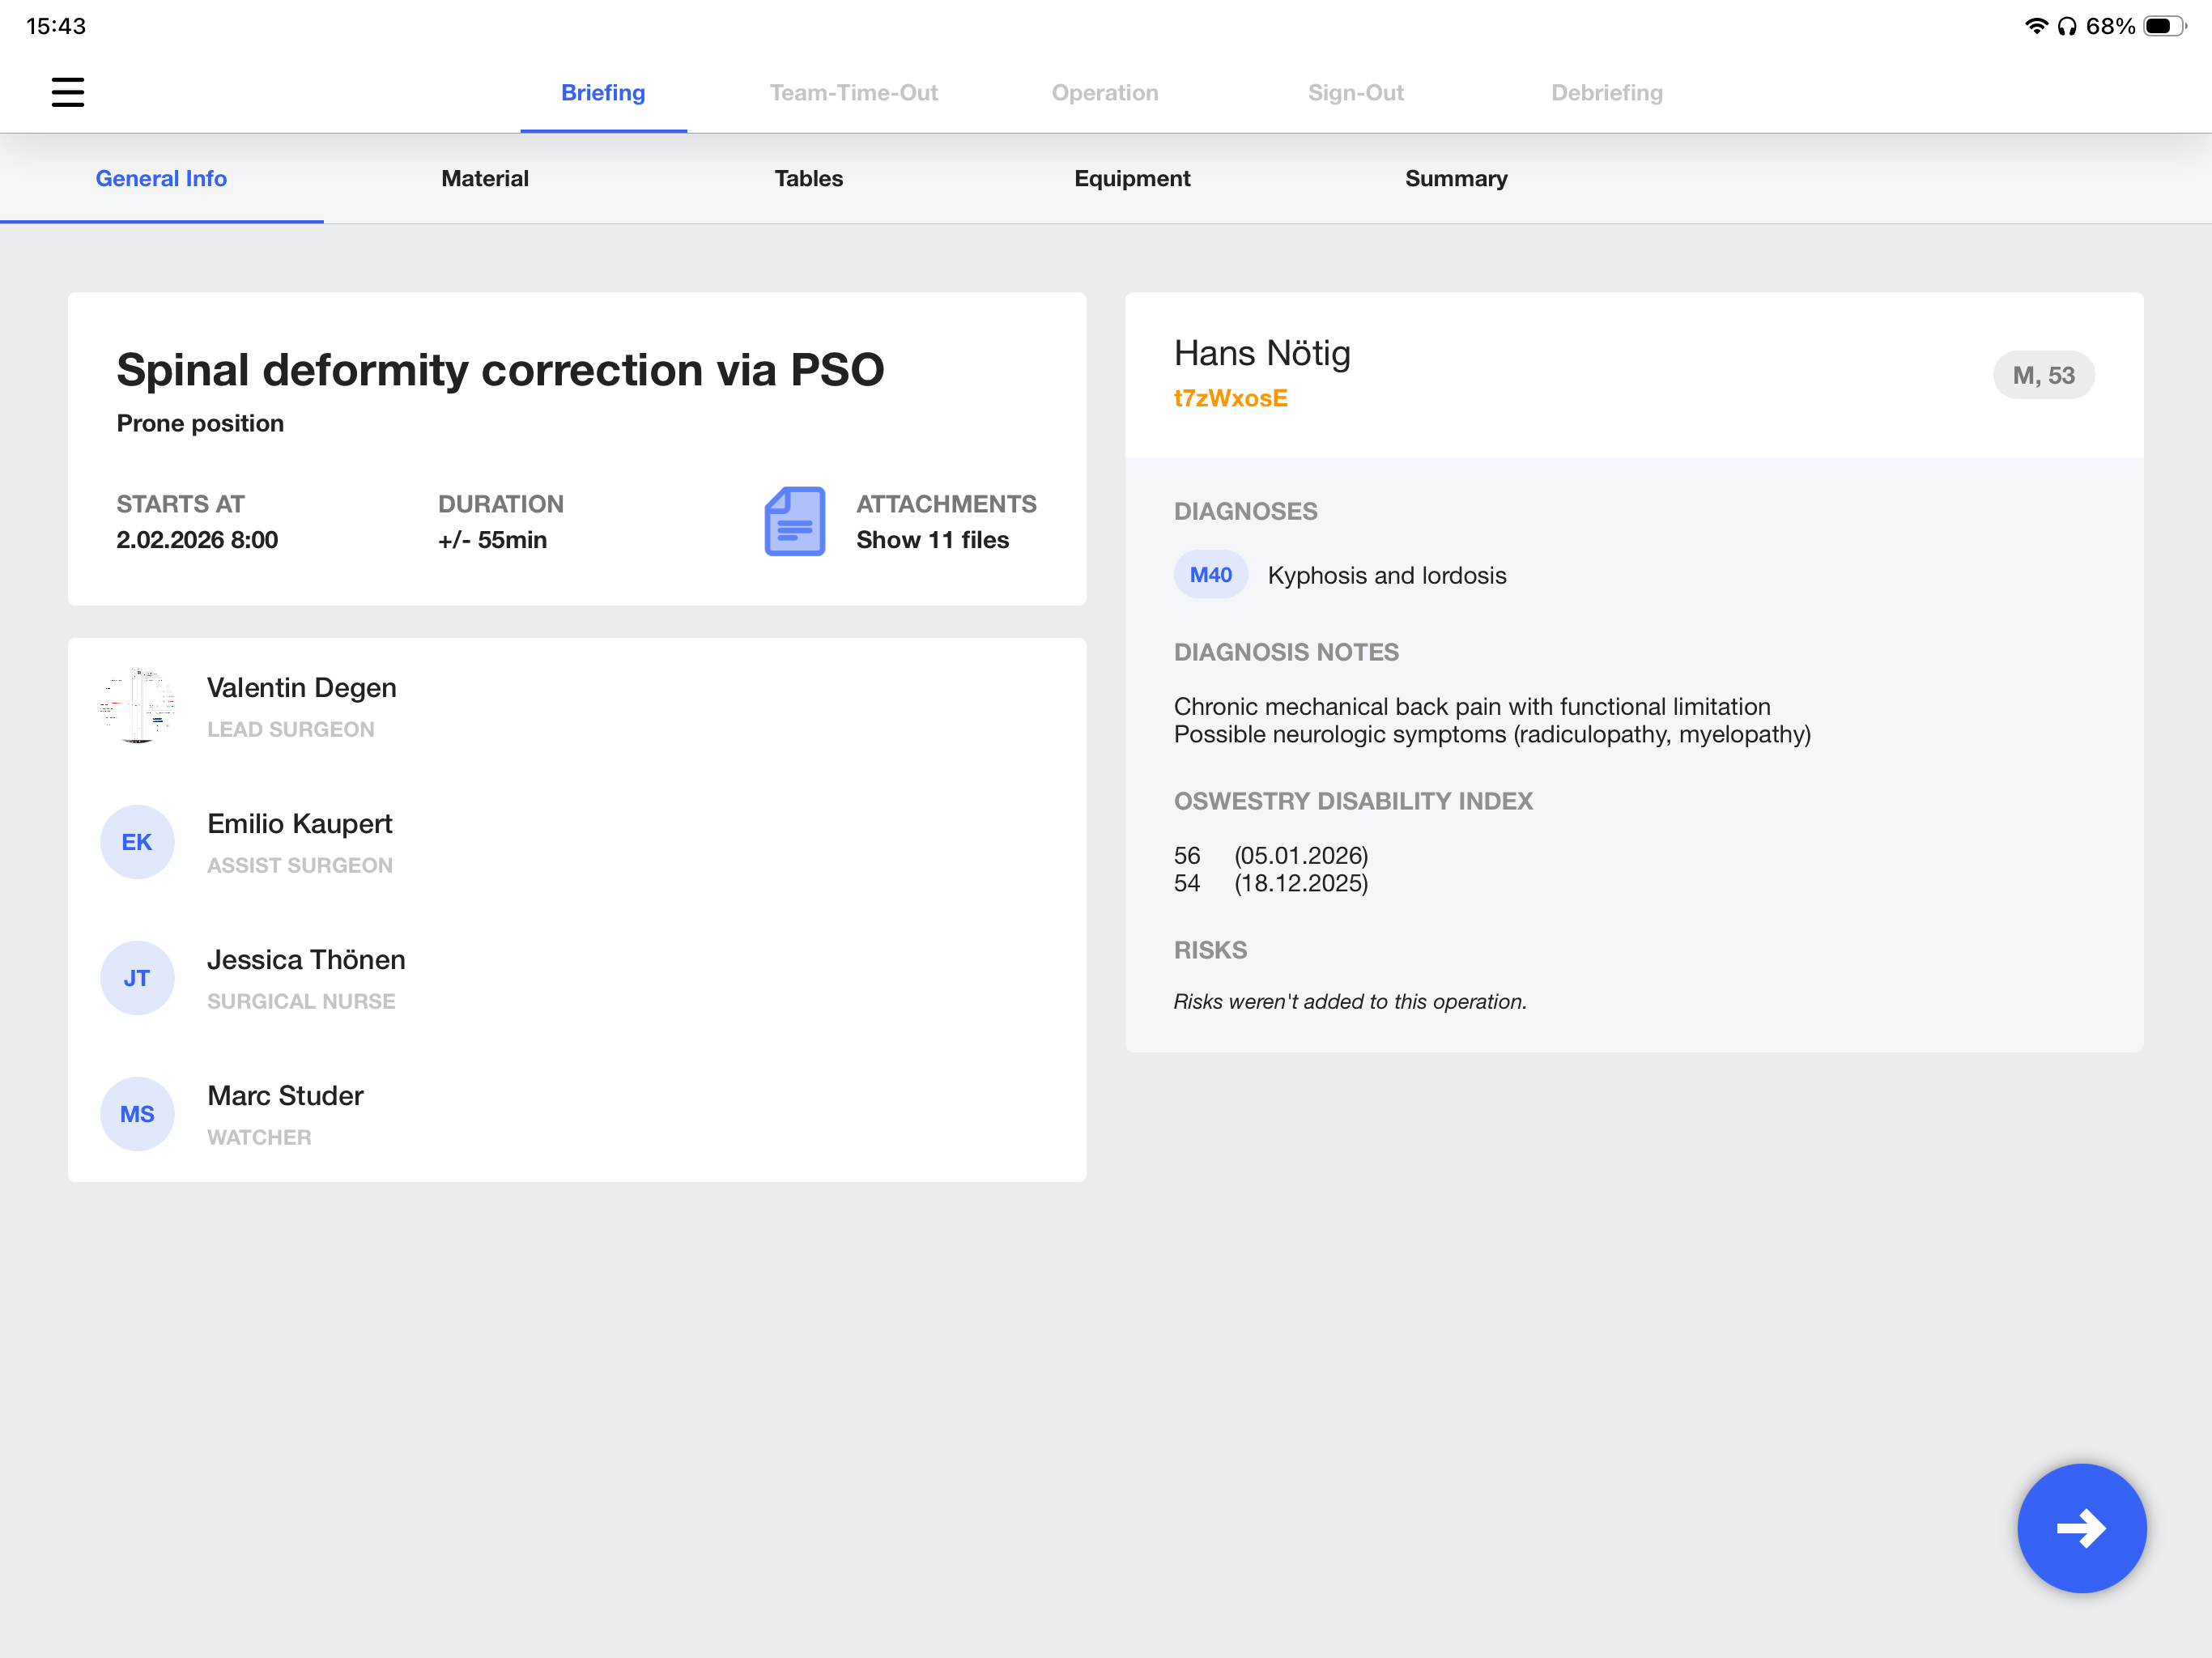
See all information in the Briefing section where you can…
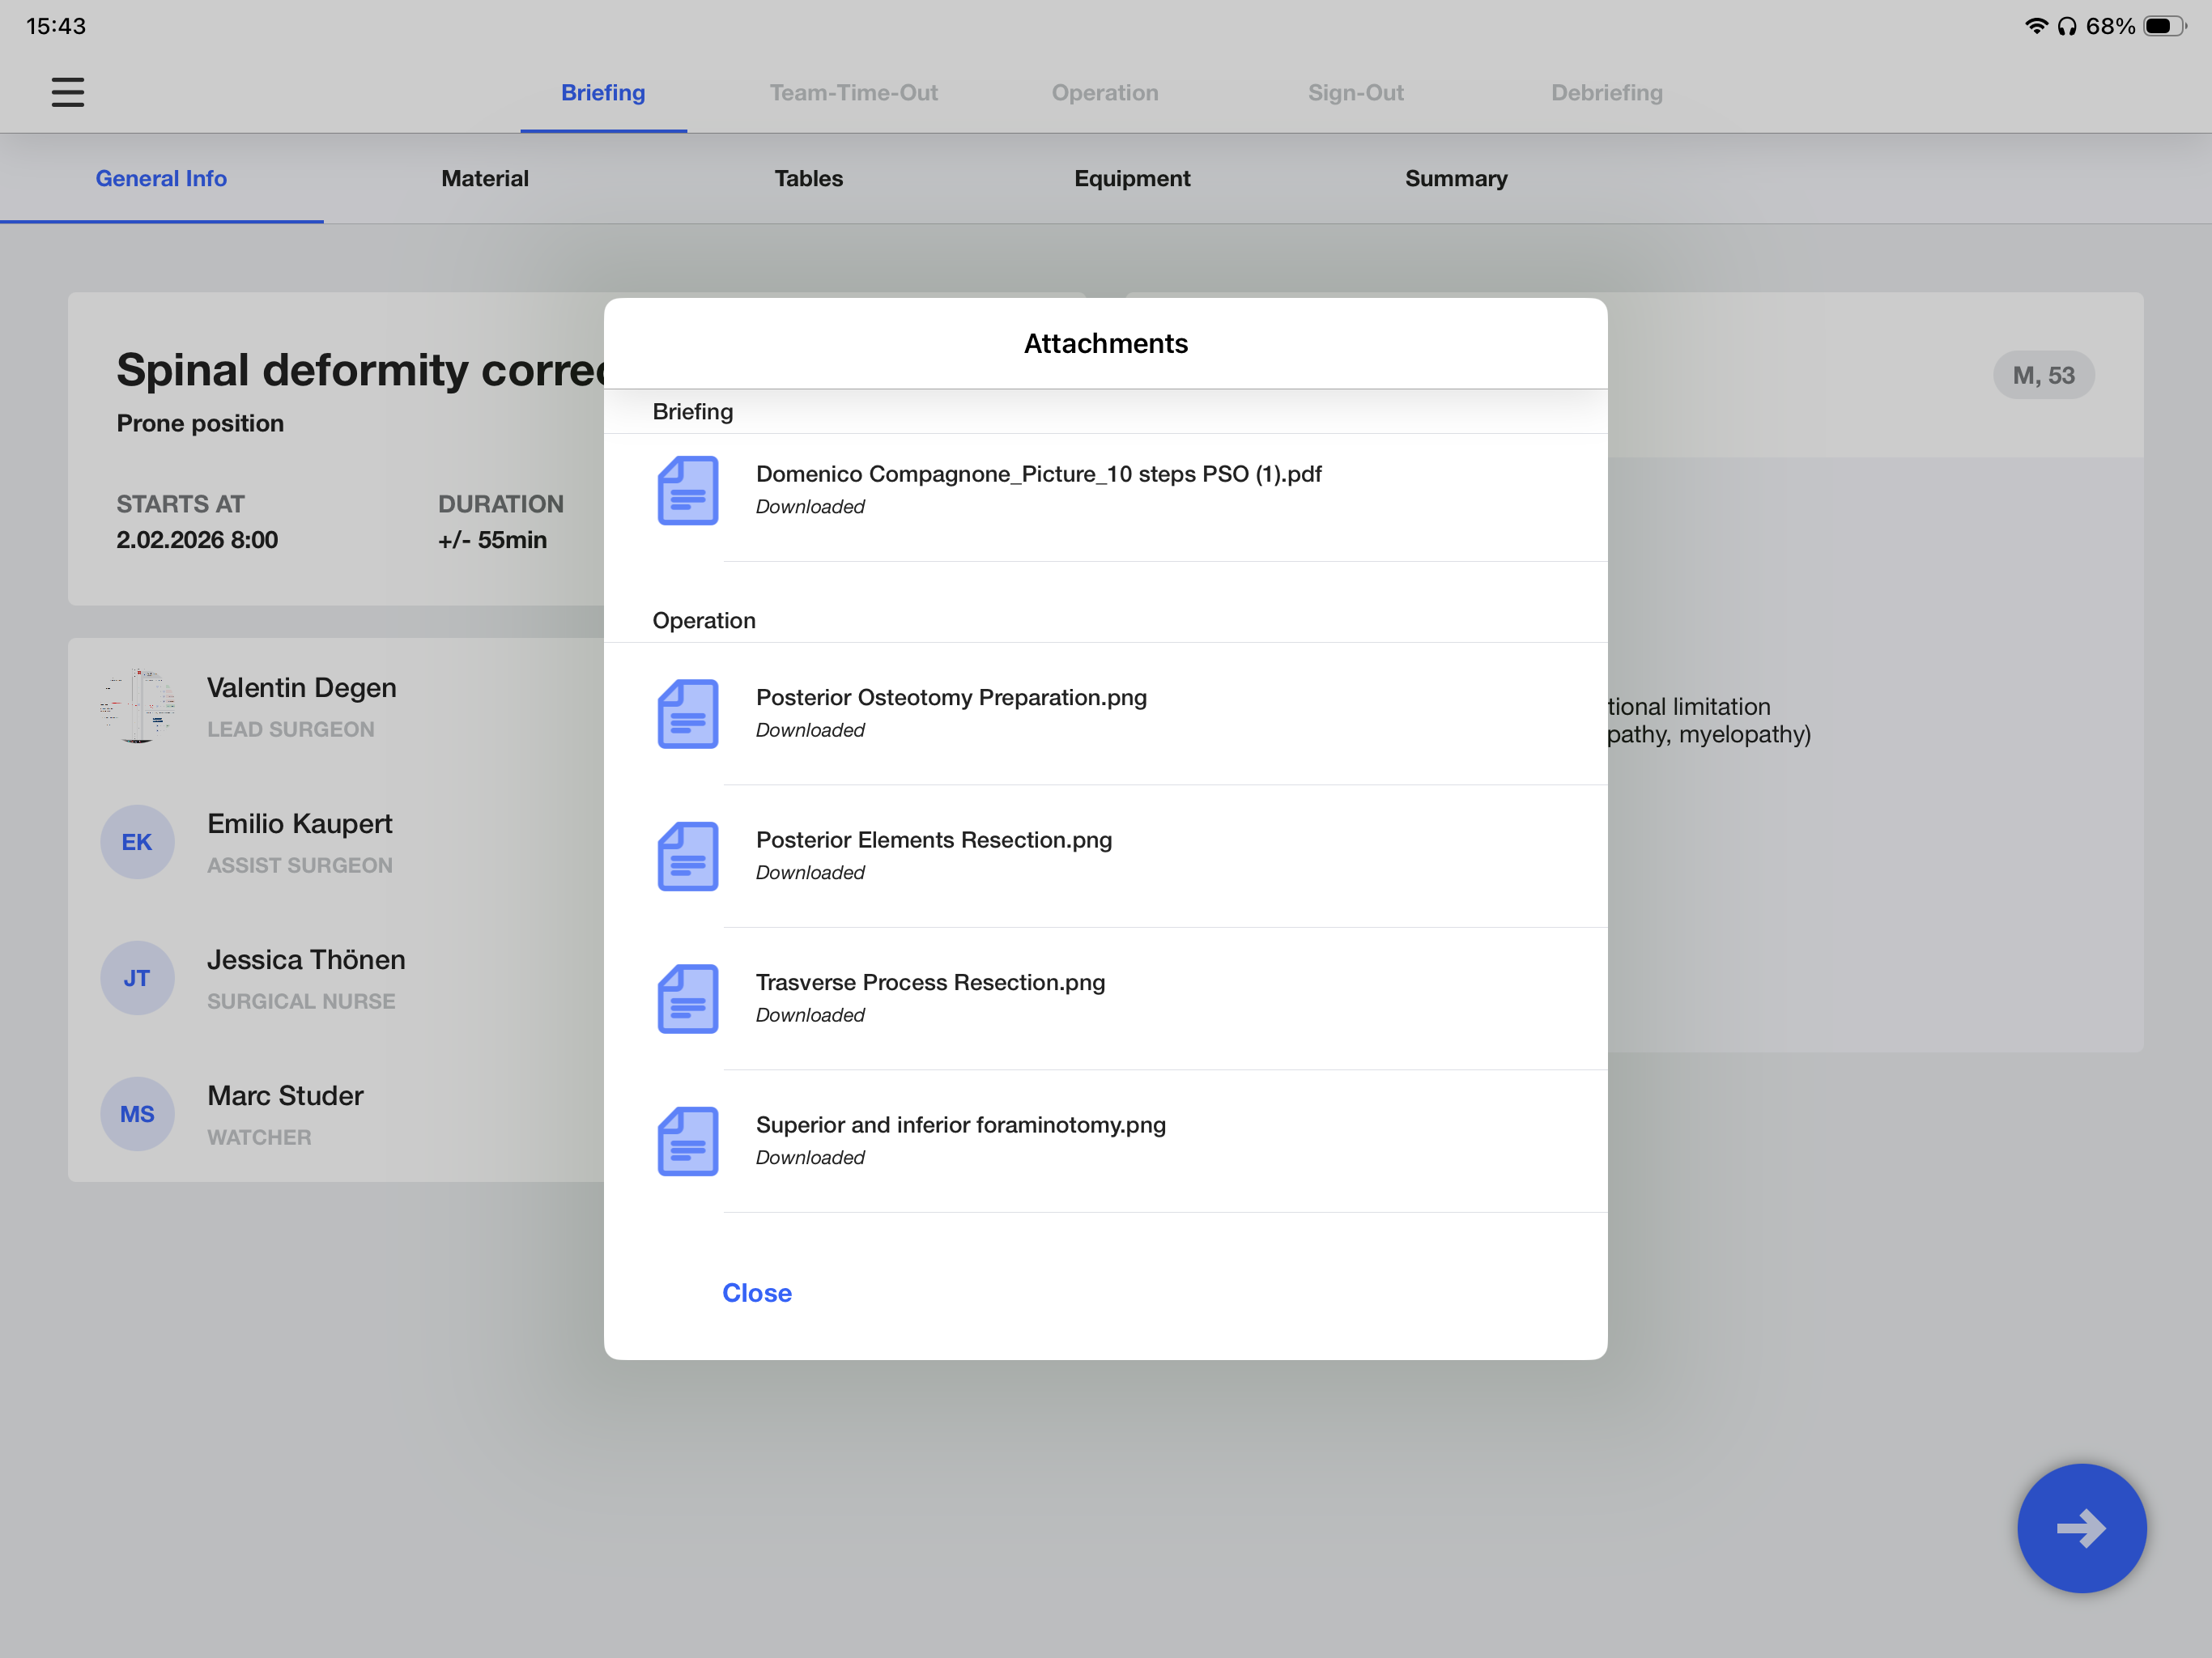
...check Briefing attachments like x-rays.
And have your team move to material lists to check if all required materials are present.
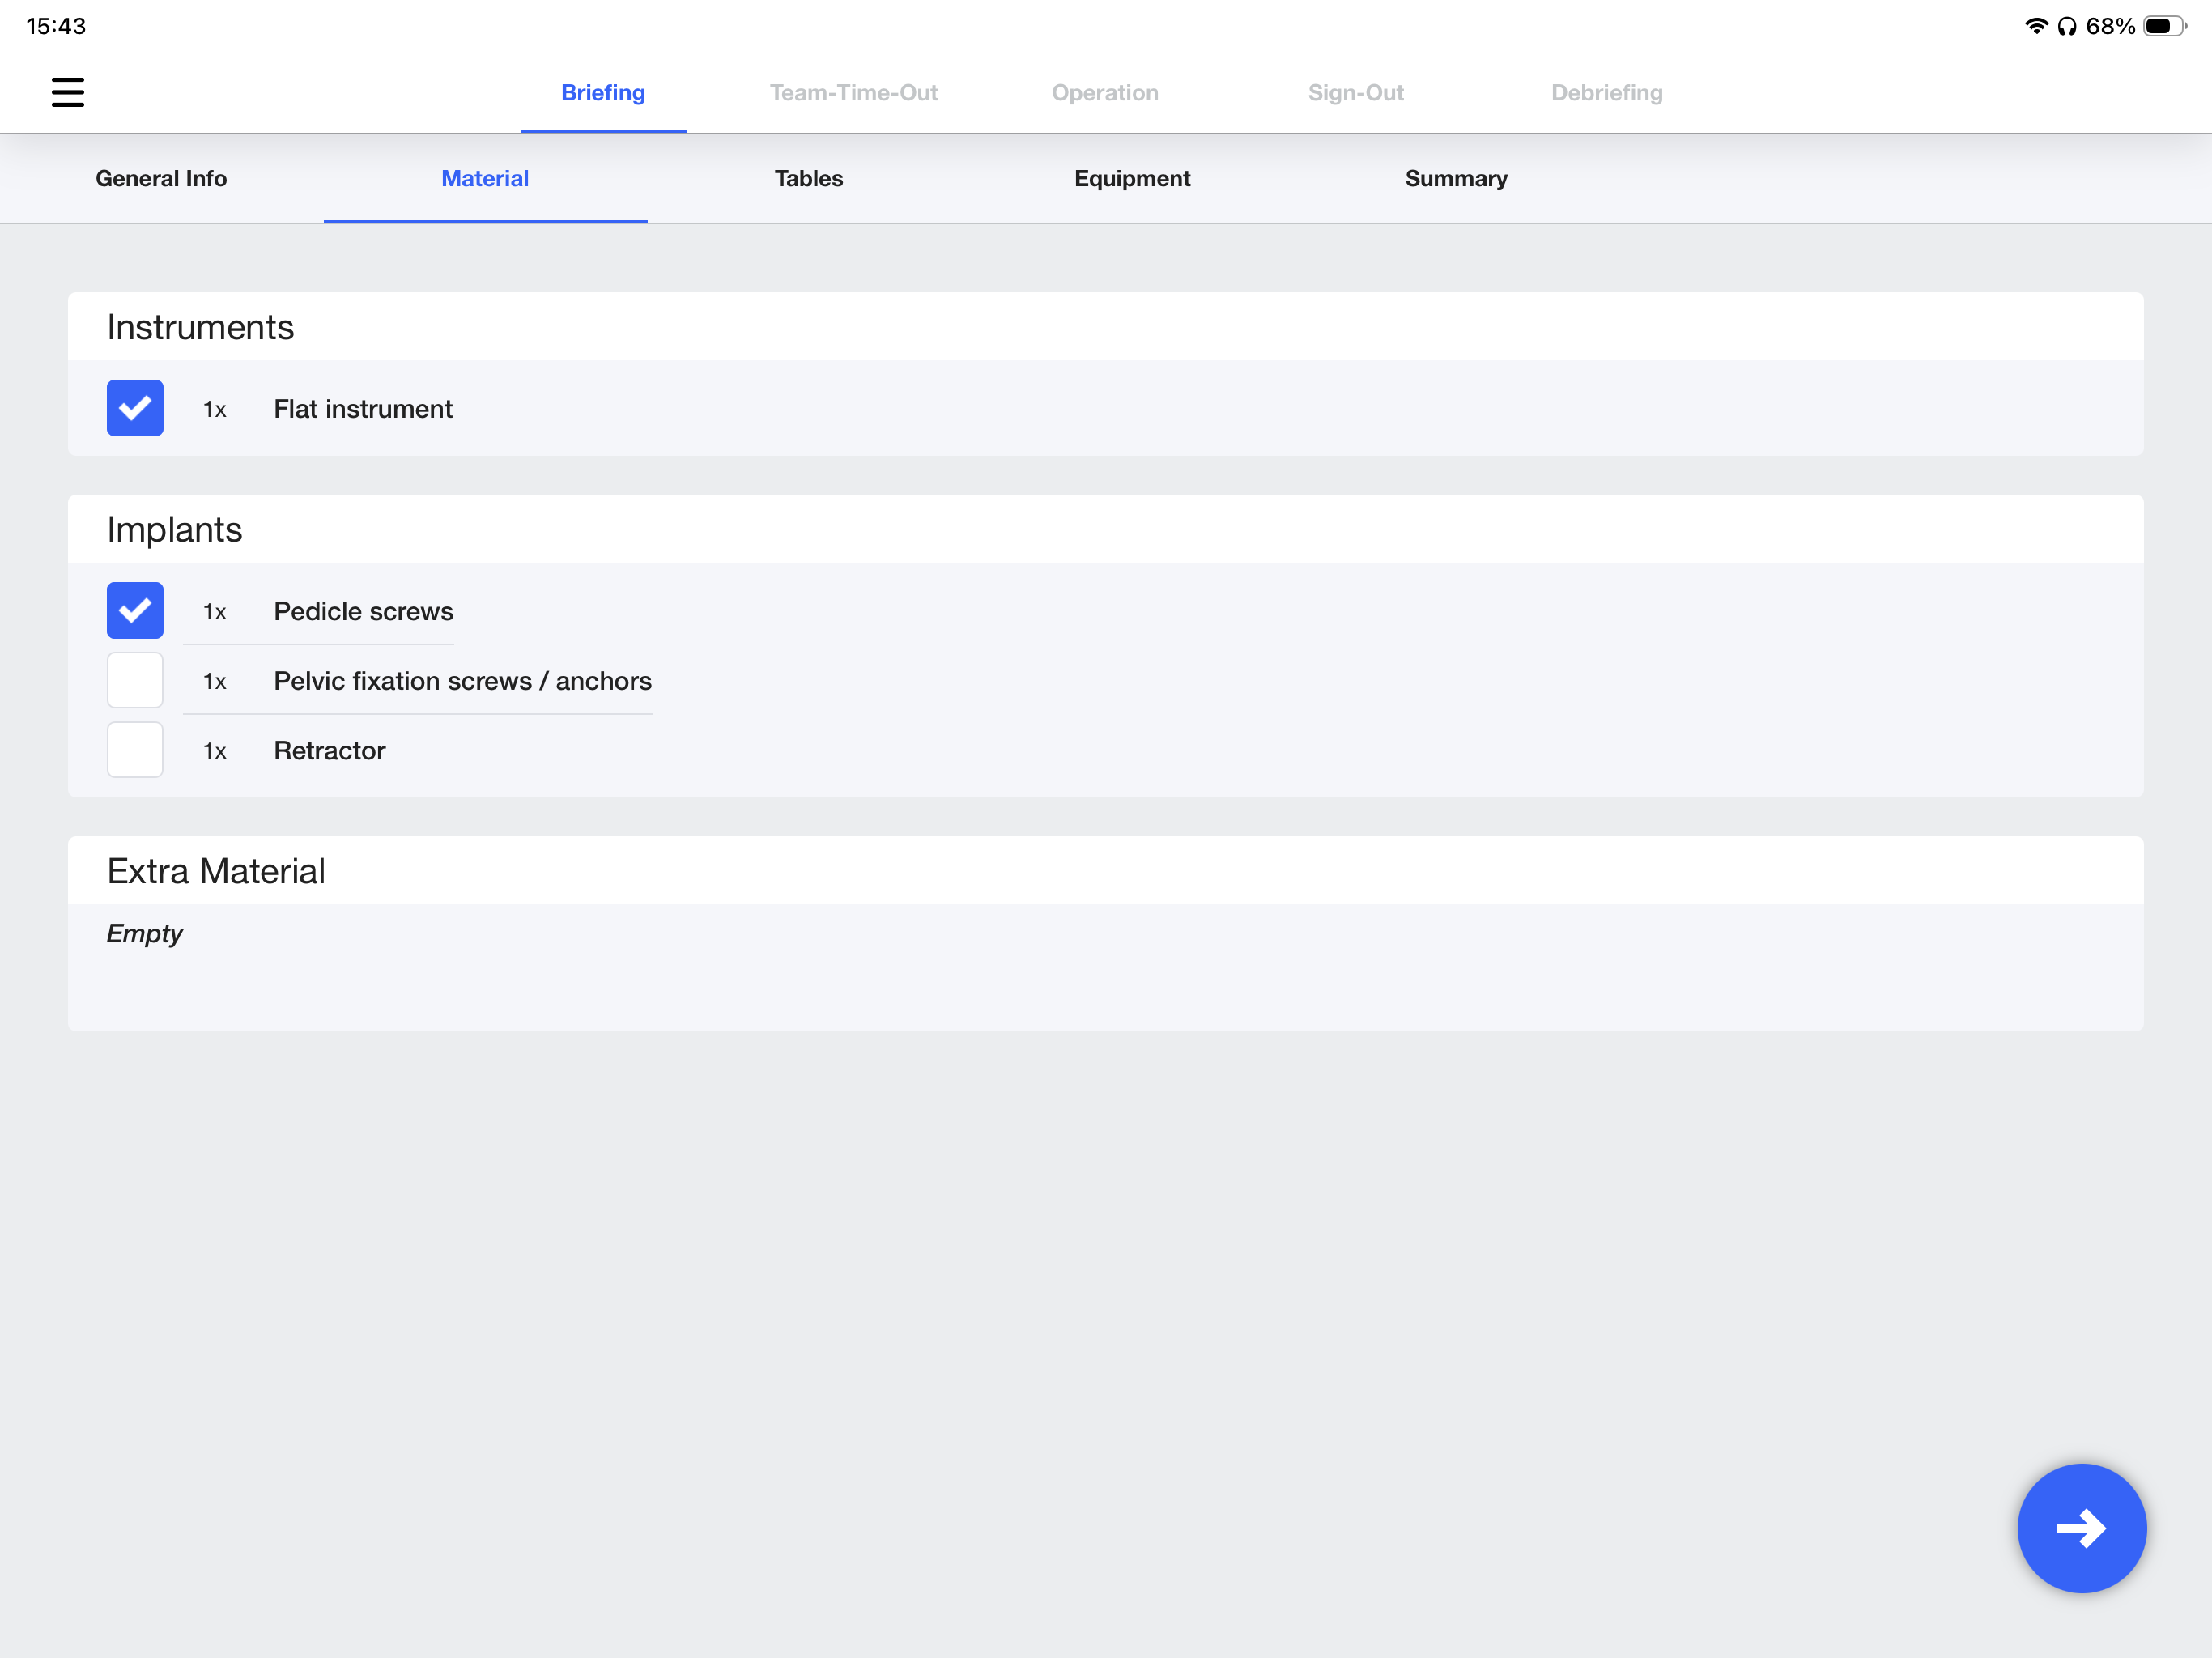
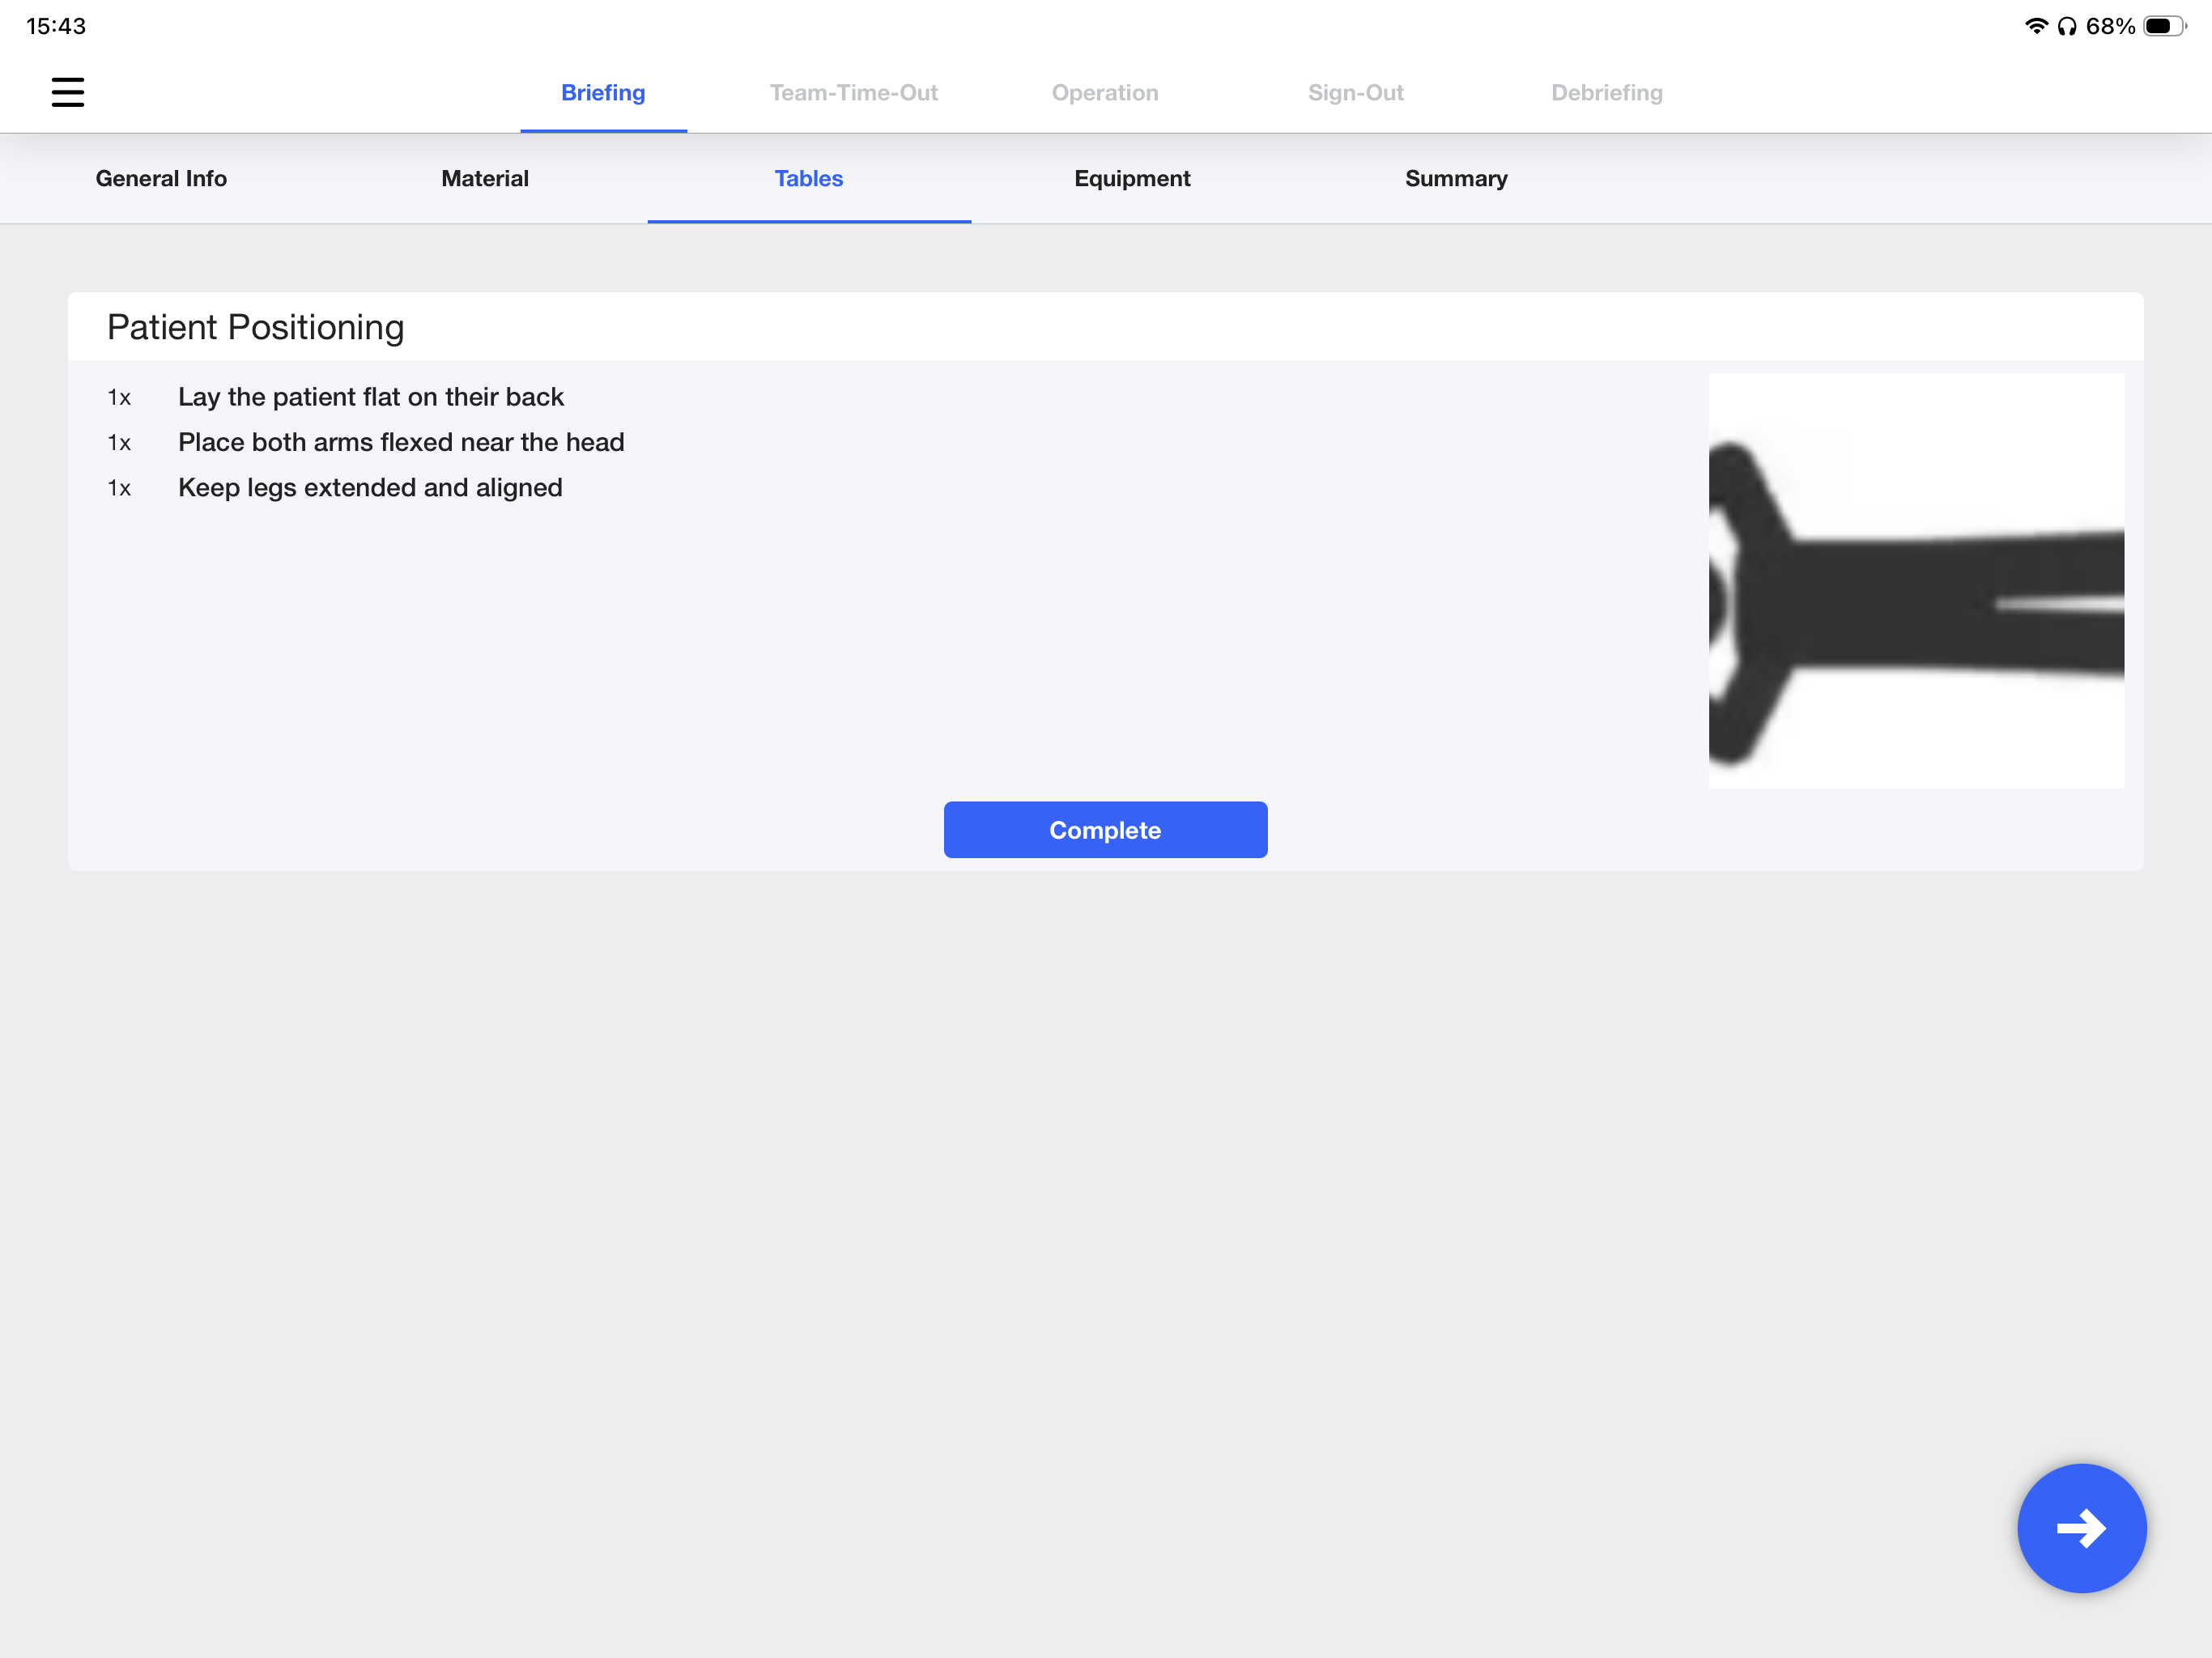
Have the team check Set-Up checklists like instrument tables, patient positioning, or sterile draping, including attachments (images or videos).
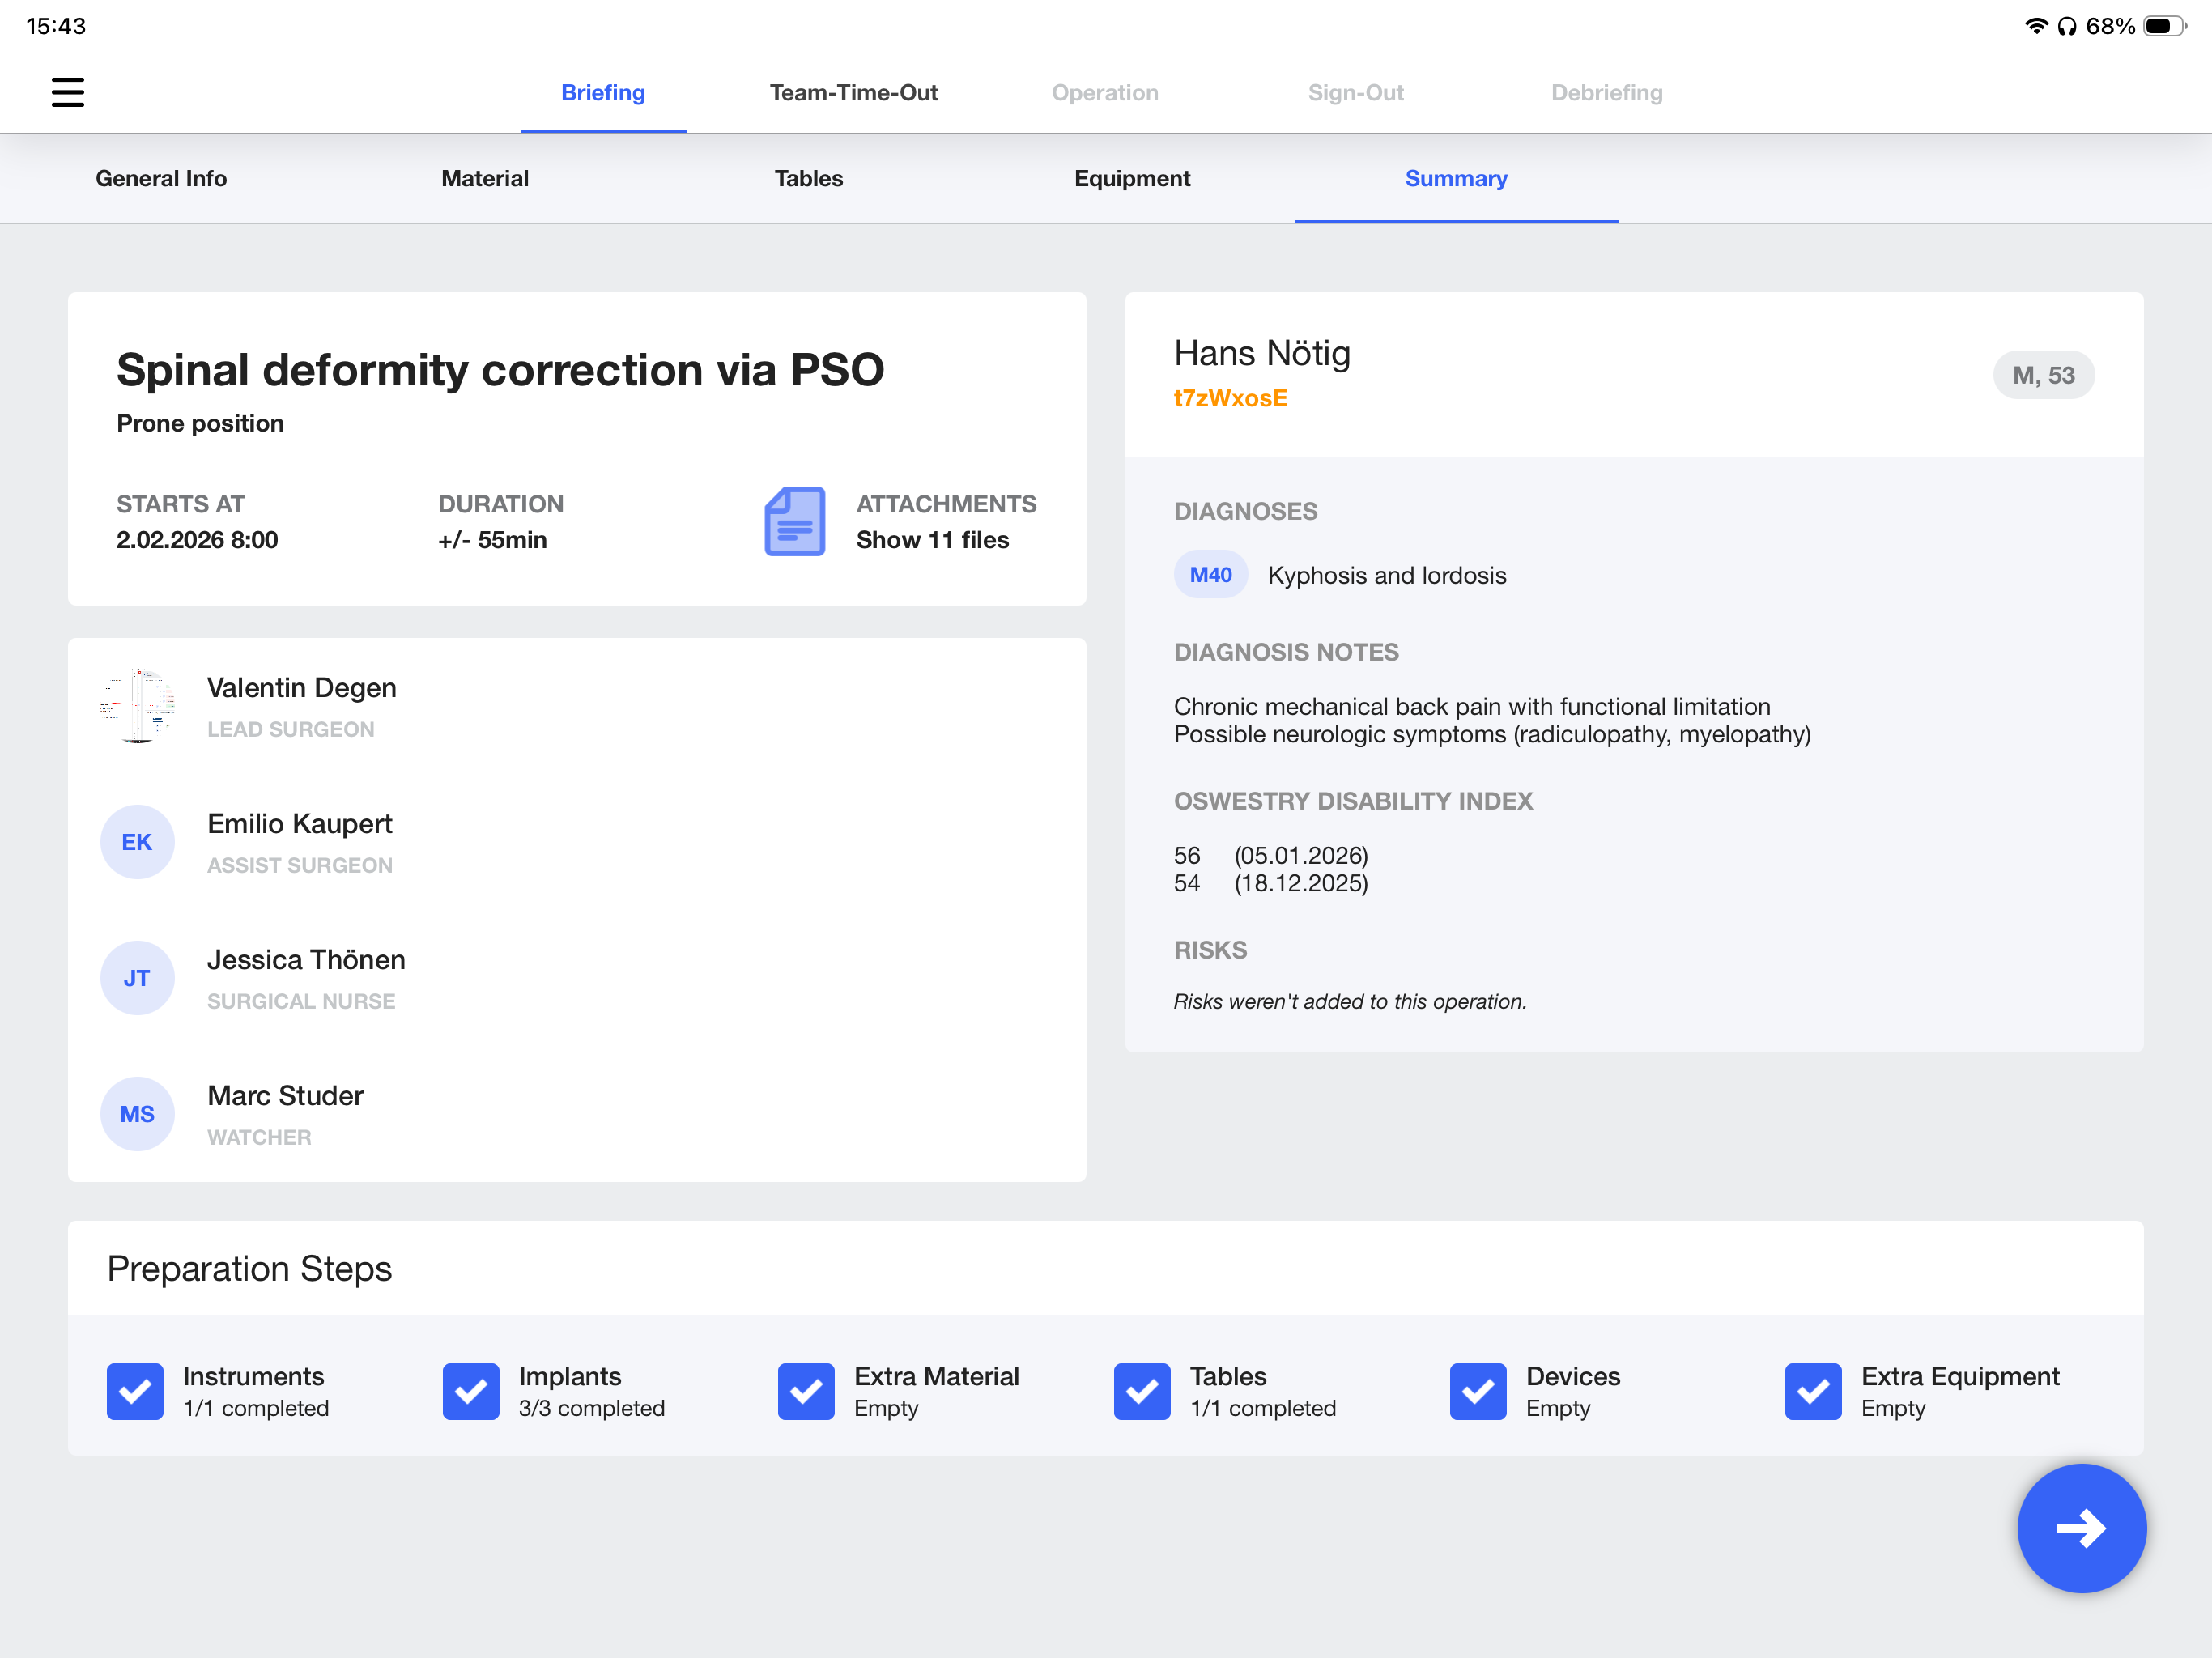
After all pre-operative preparation, the surgeon can check and confirm that every piece of information added in the planning is available, checked, and at his or her disposal.
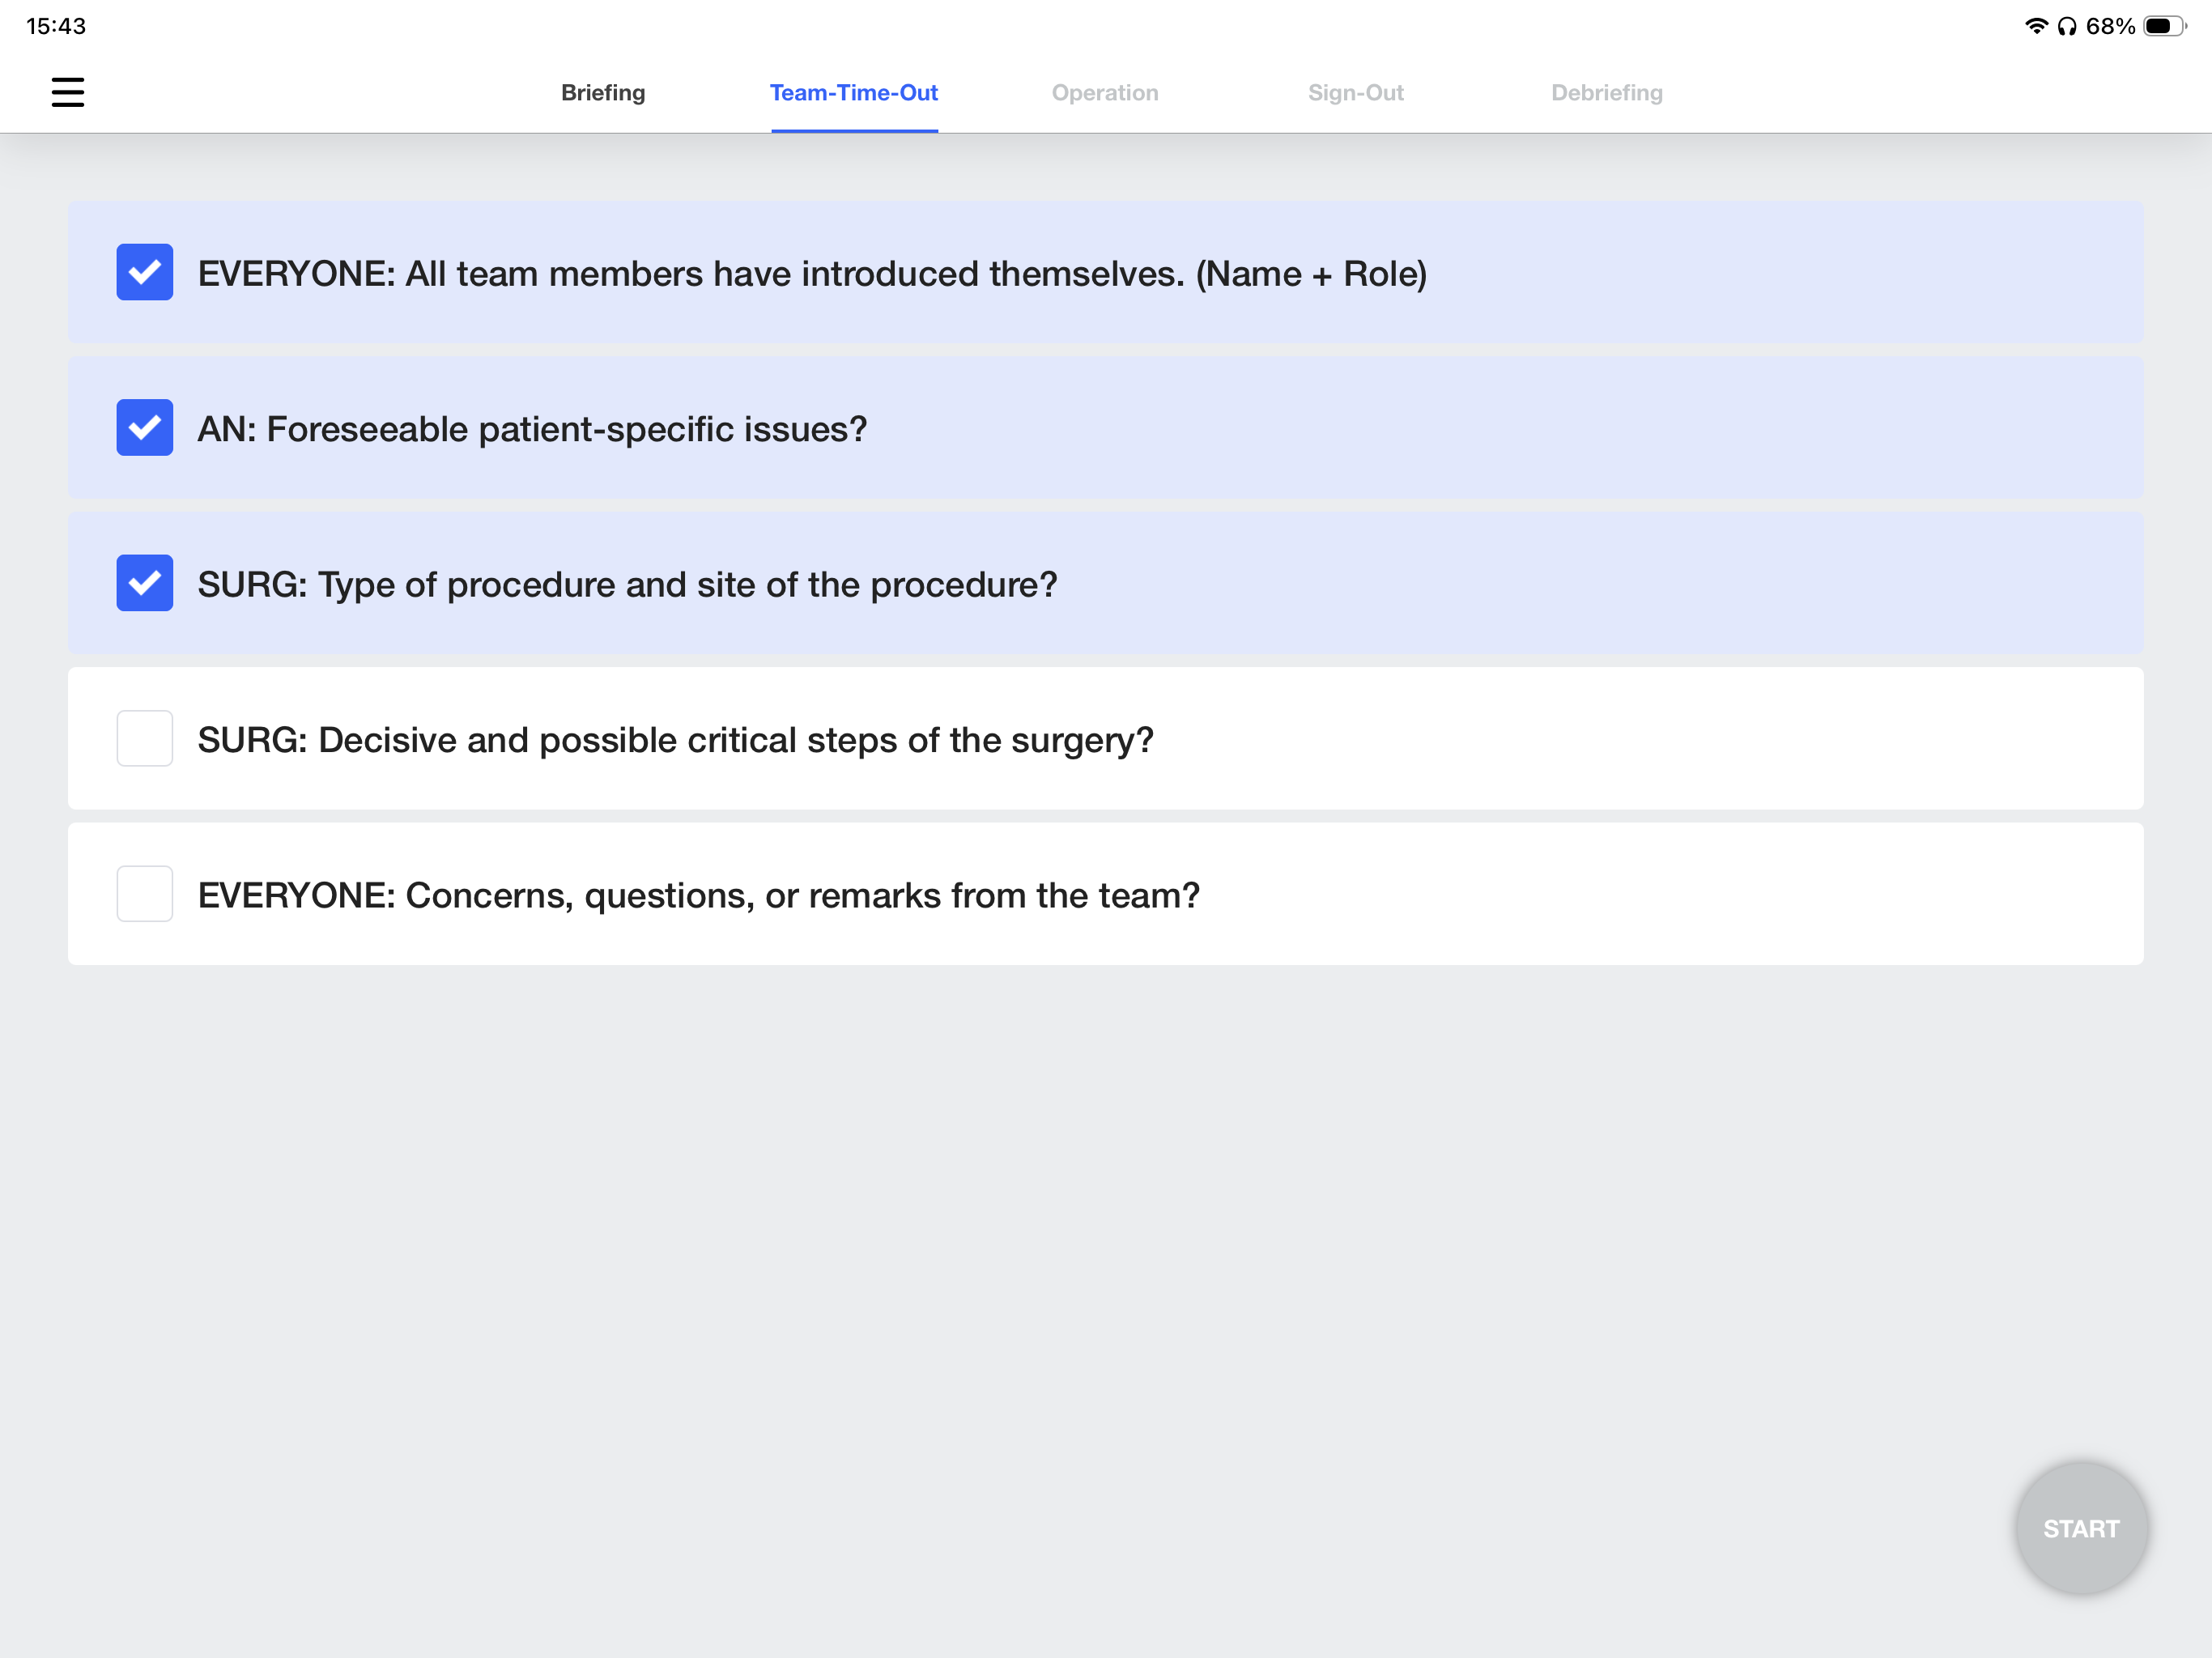
Institute Team Time Out checklist will appear next.
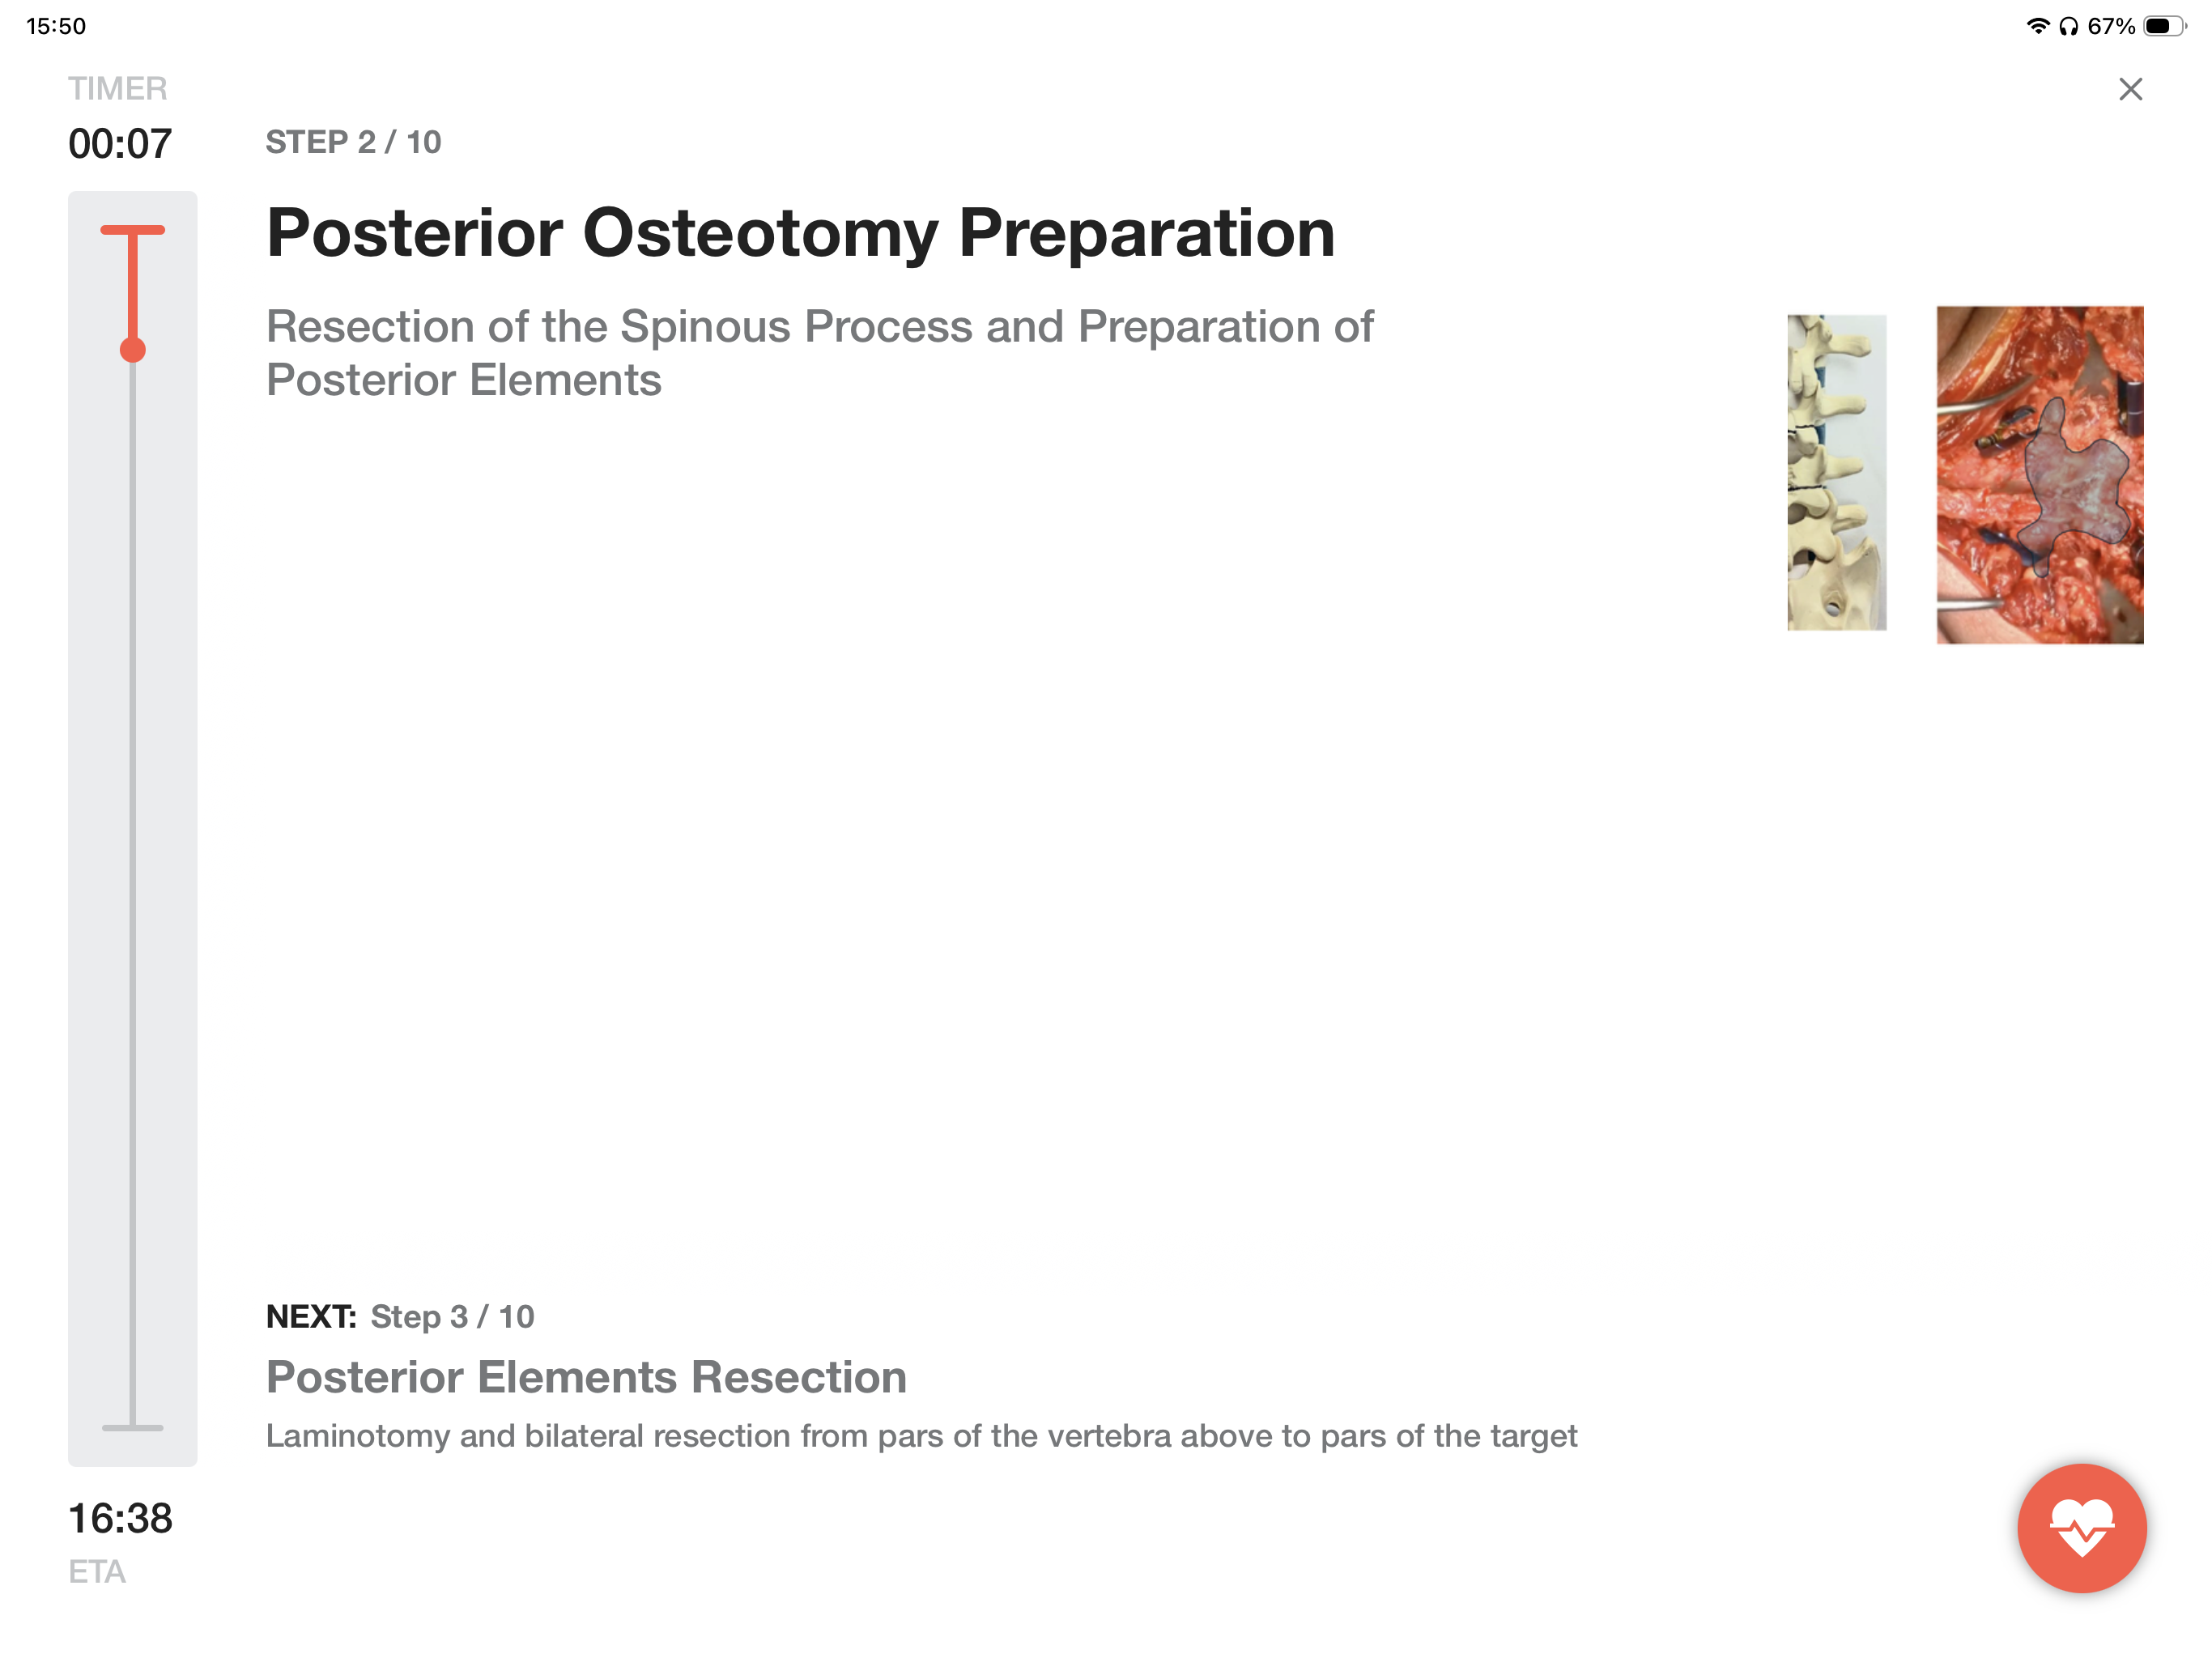
Until you enter the intra-OP screen where you have the step title, description, attachments, next step, and the timeline, including estimated time of arrival, at your and your team's disposal.
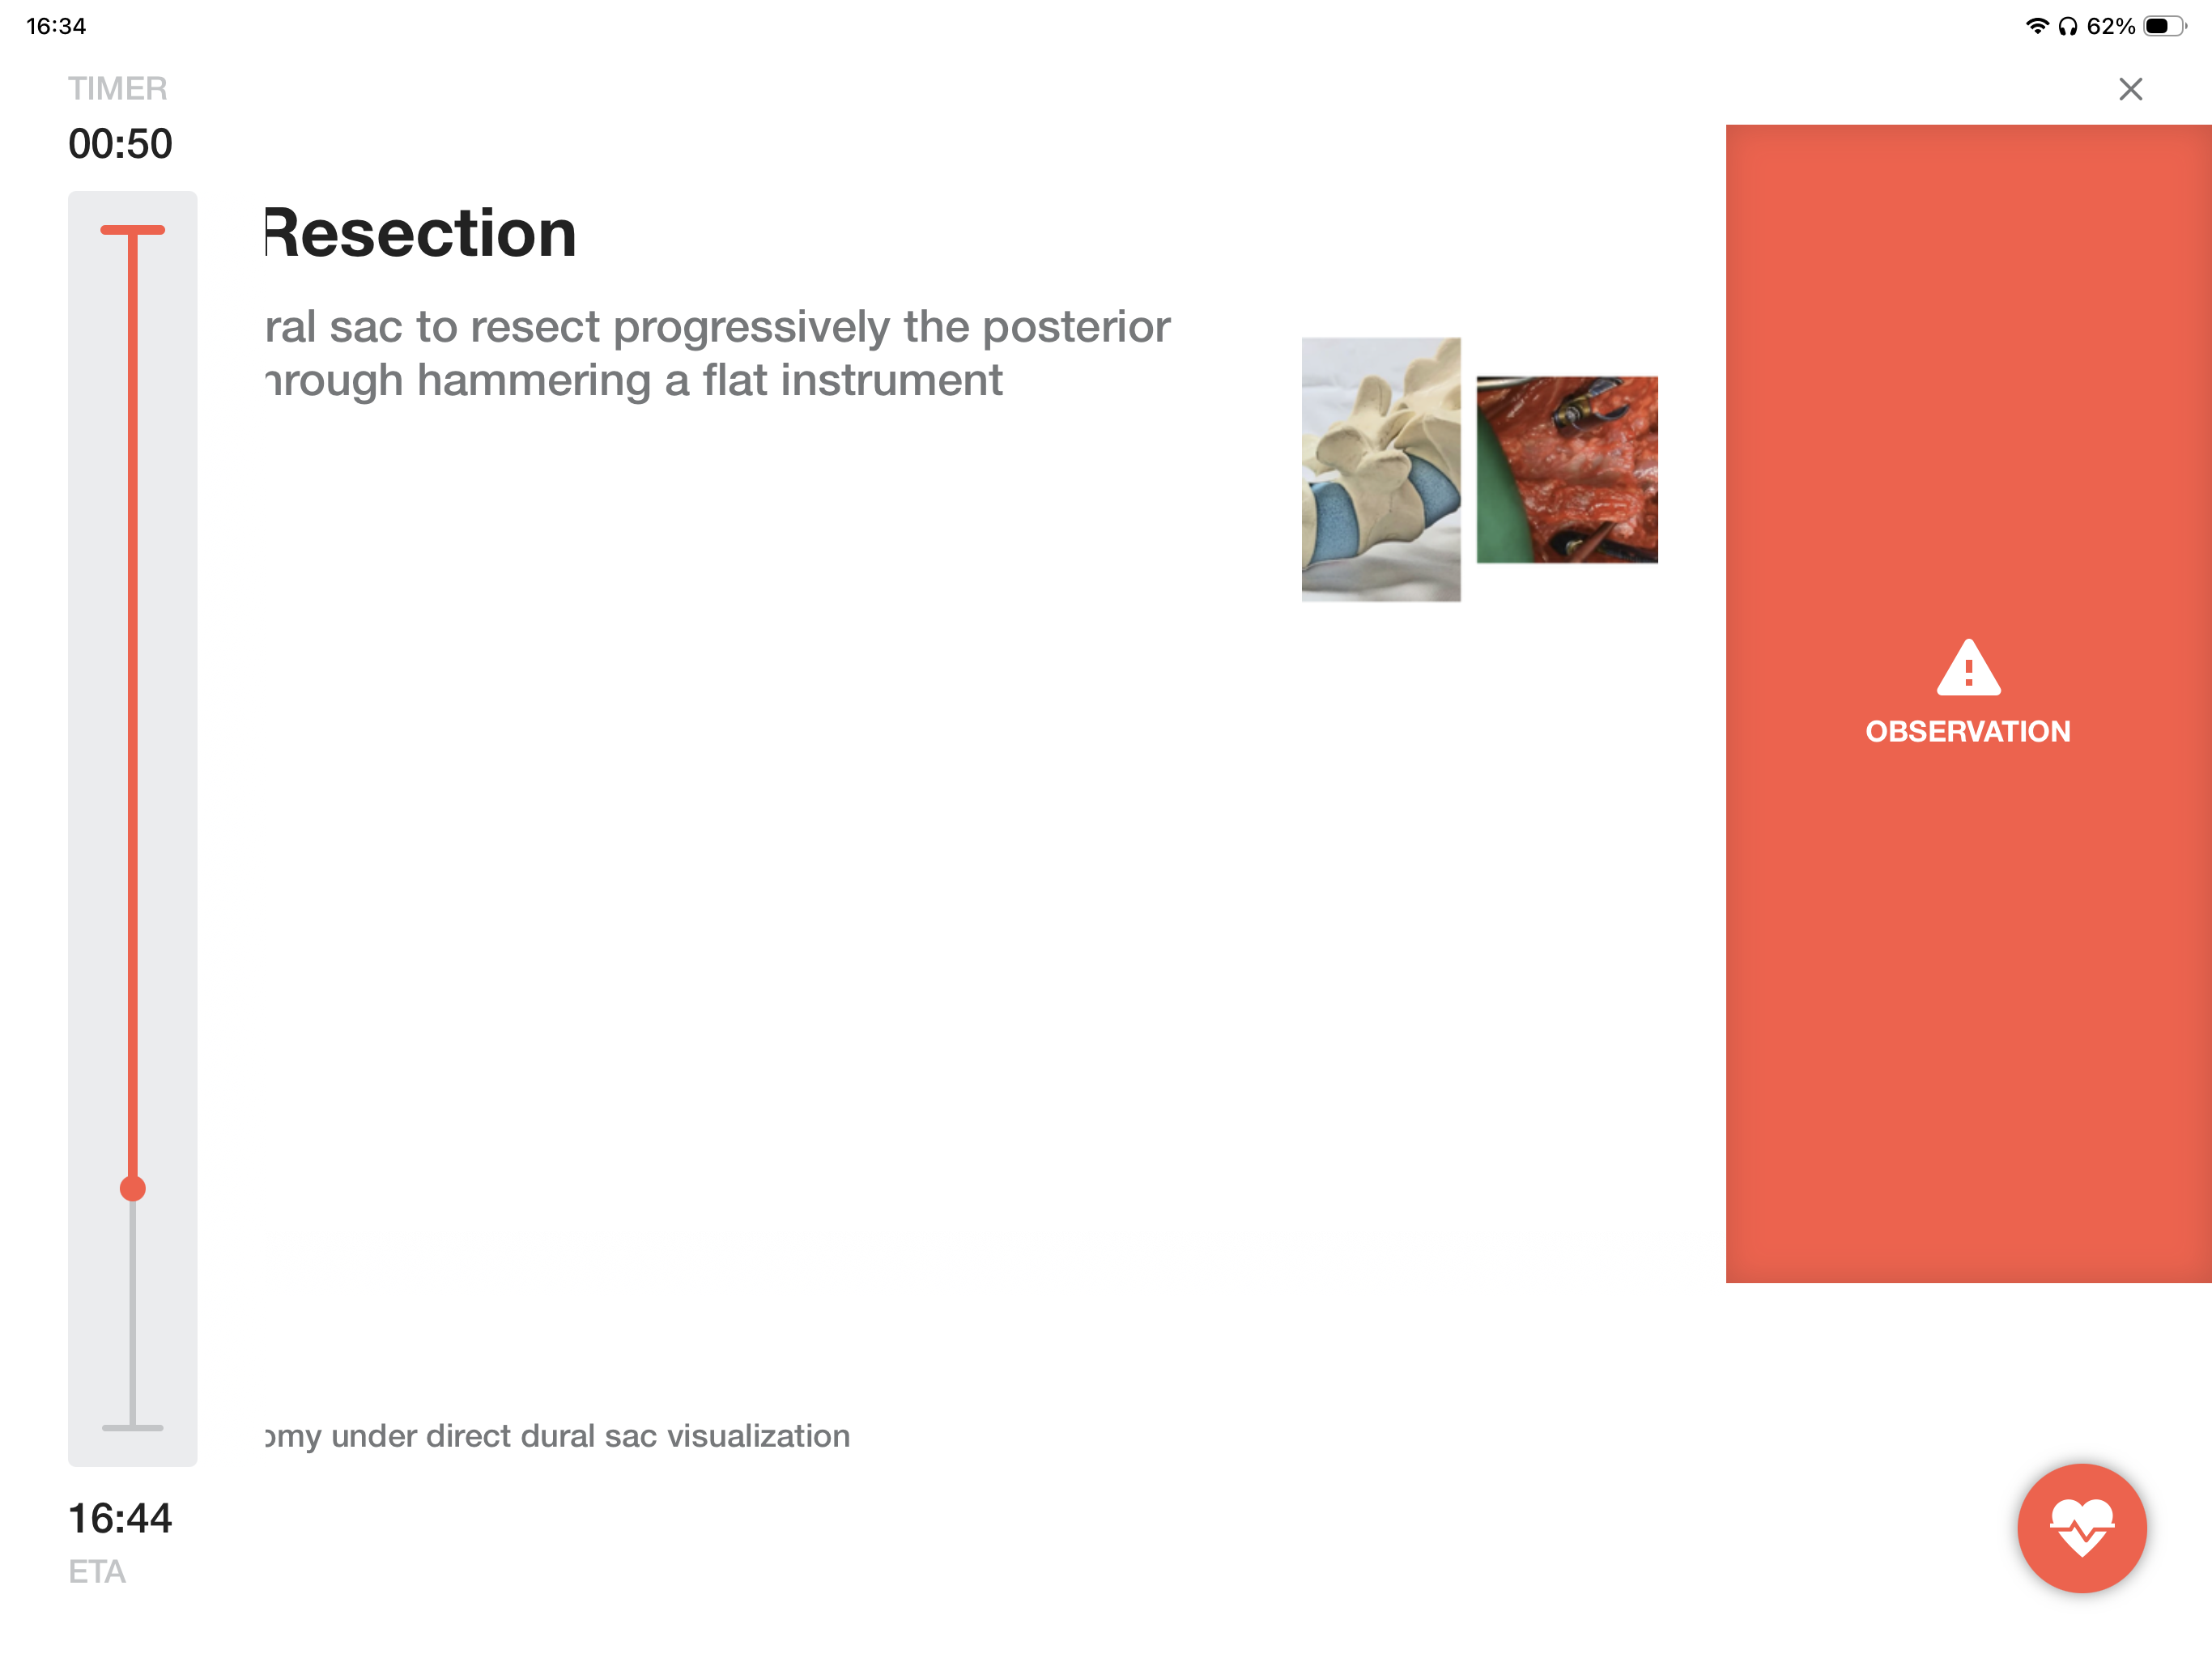
In case an intra-operative adverse event (human- or material based) or general observation occurs, click the right arrow on the Bluetooth remote or the 4th button on the foot pedal.
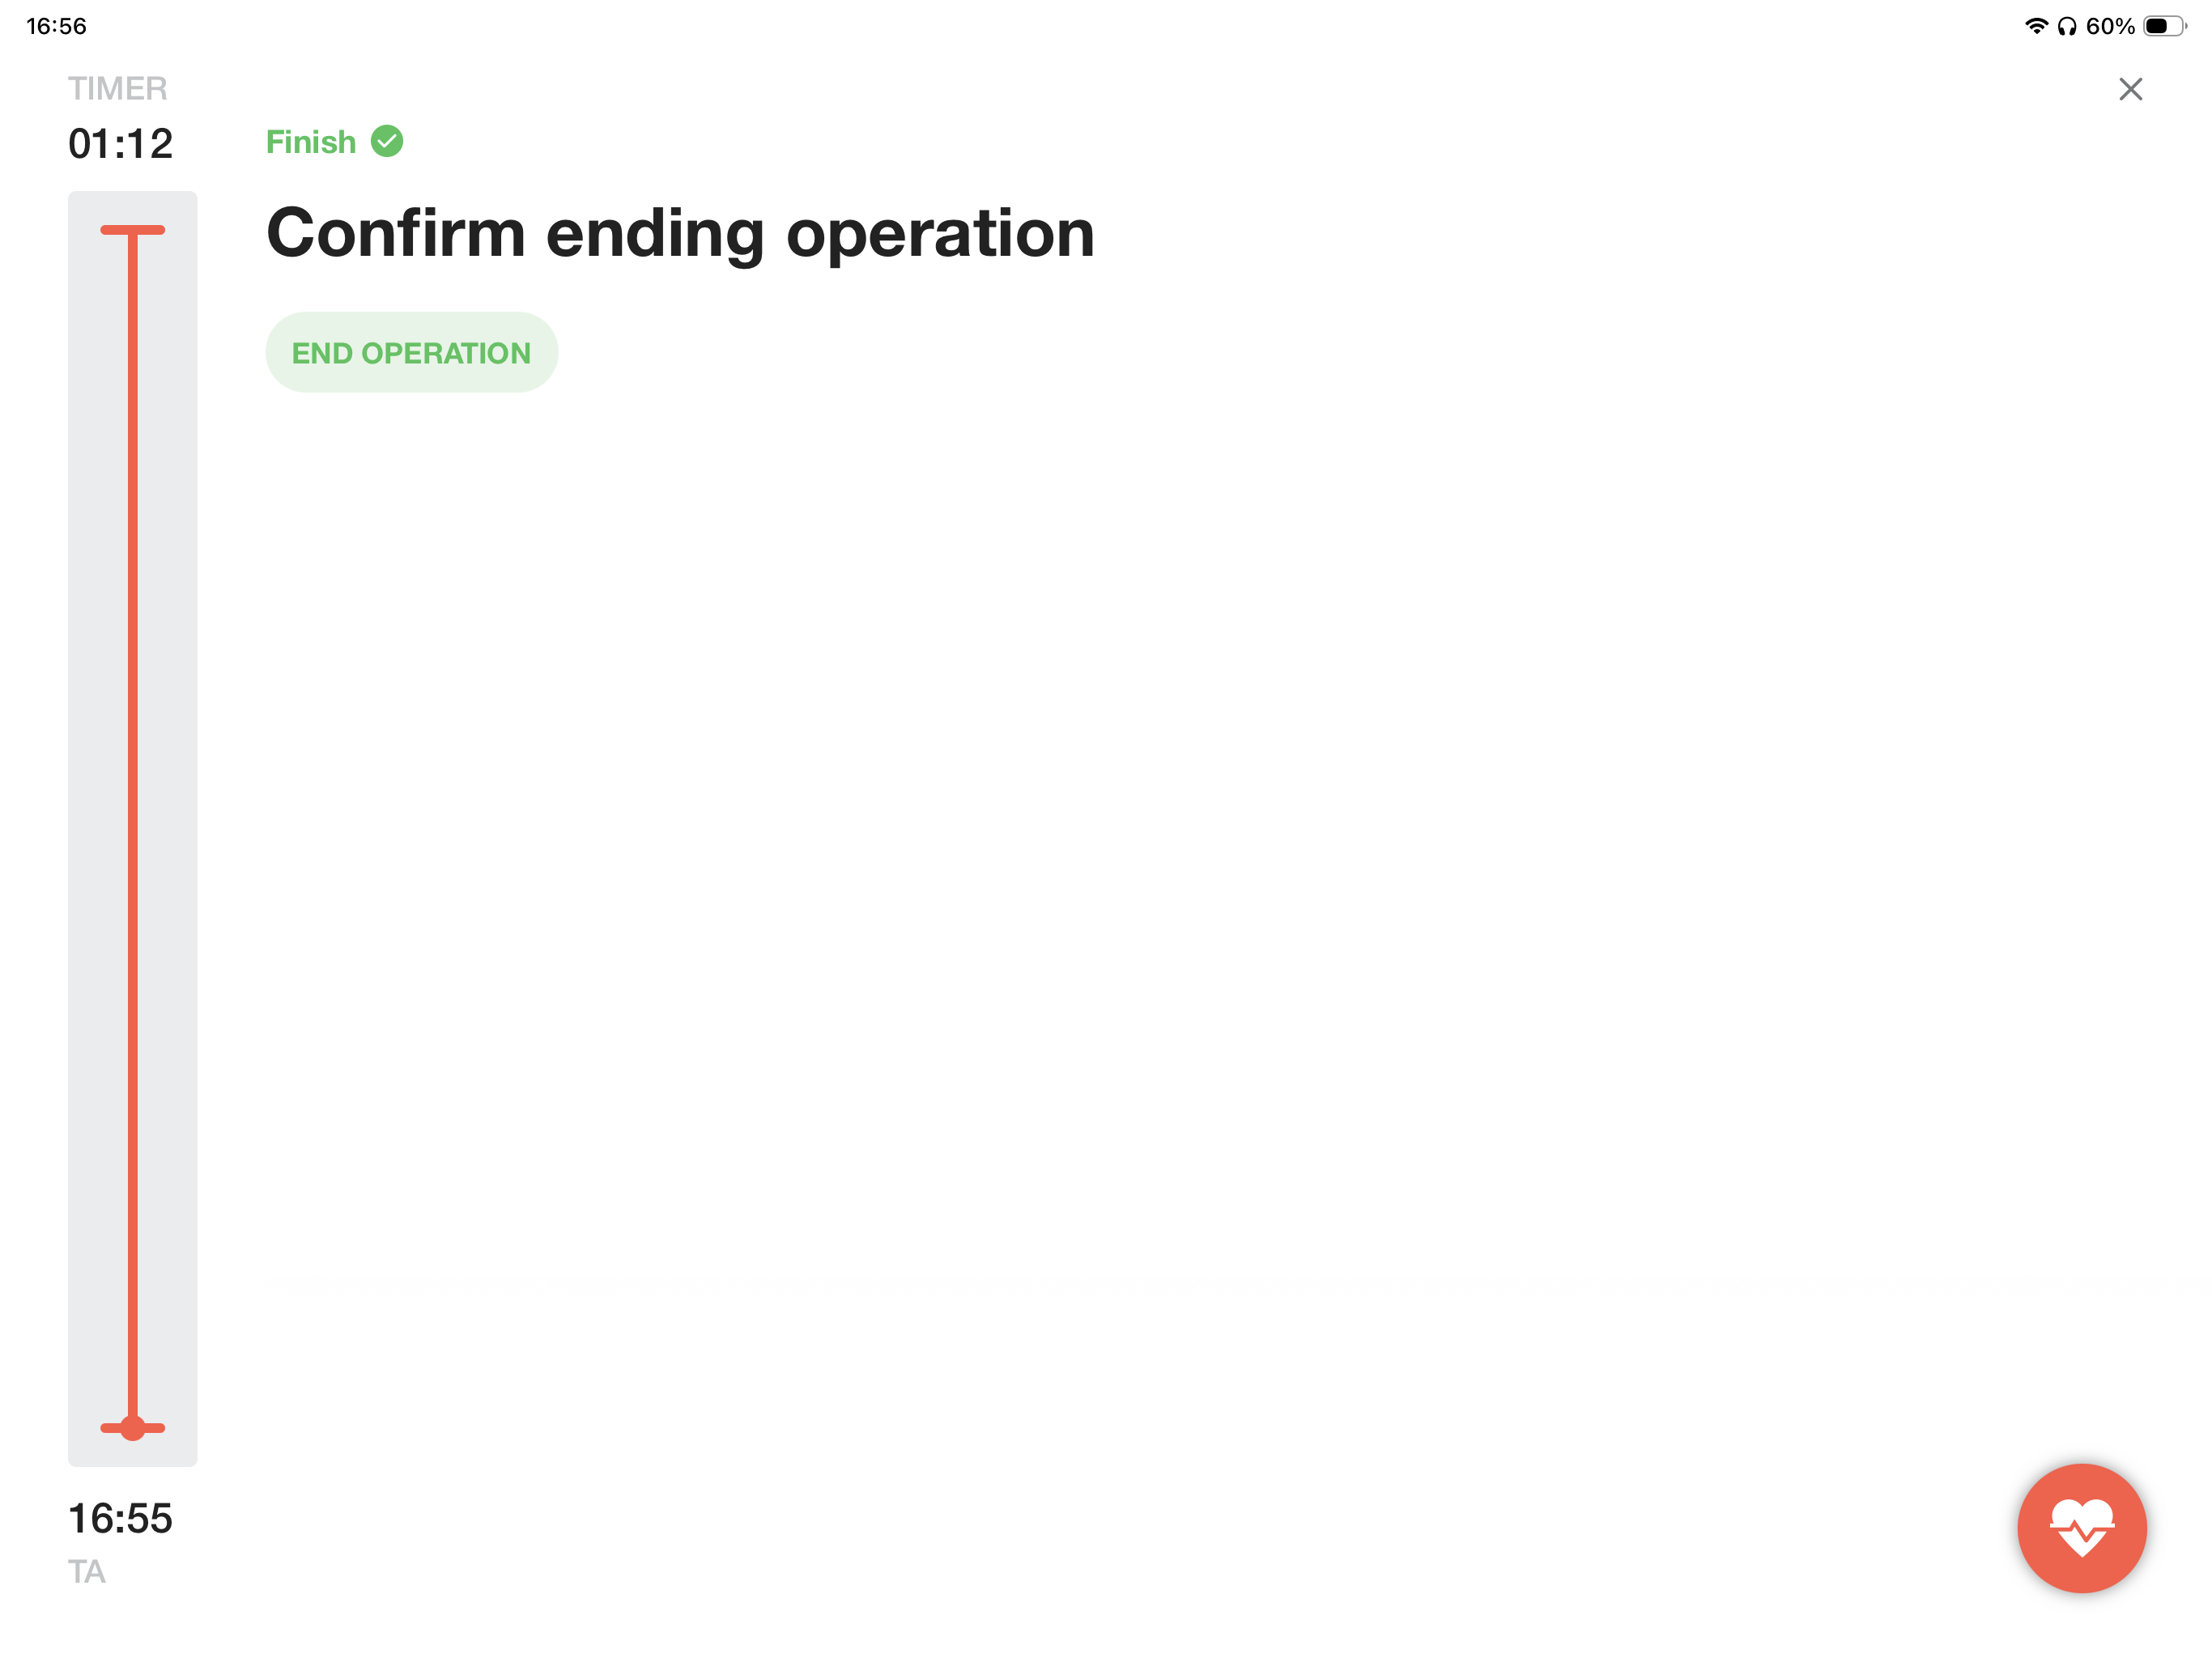
After going through the operation template, click 'END OPERATION' to finish your operation.
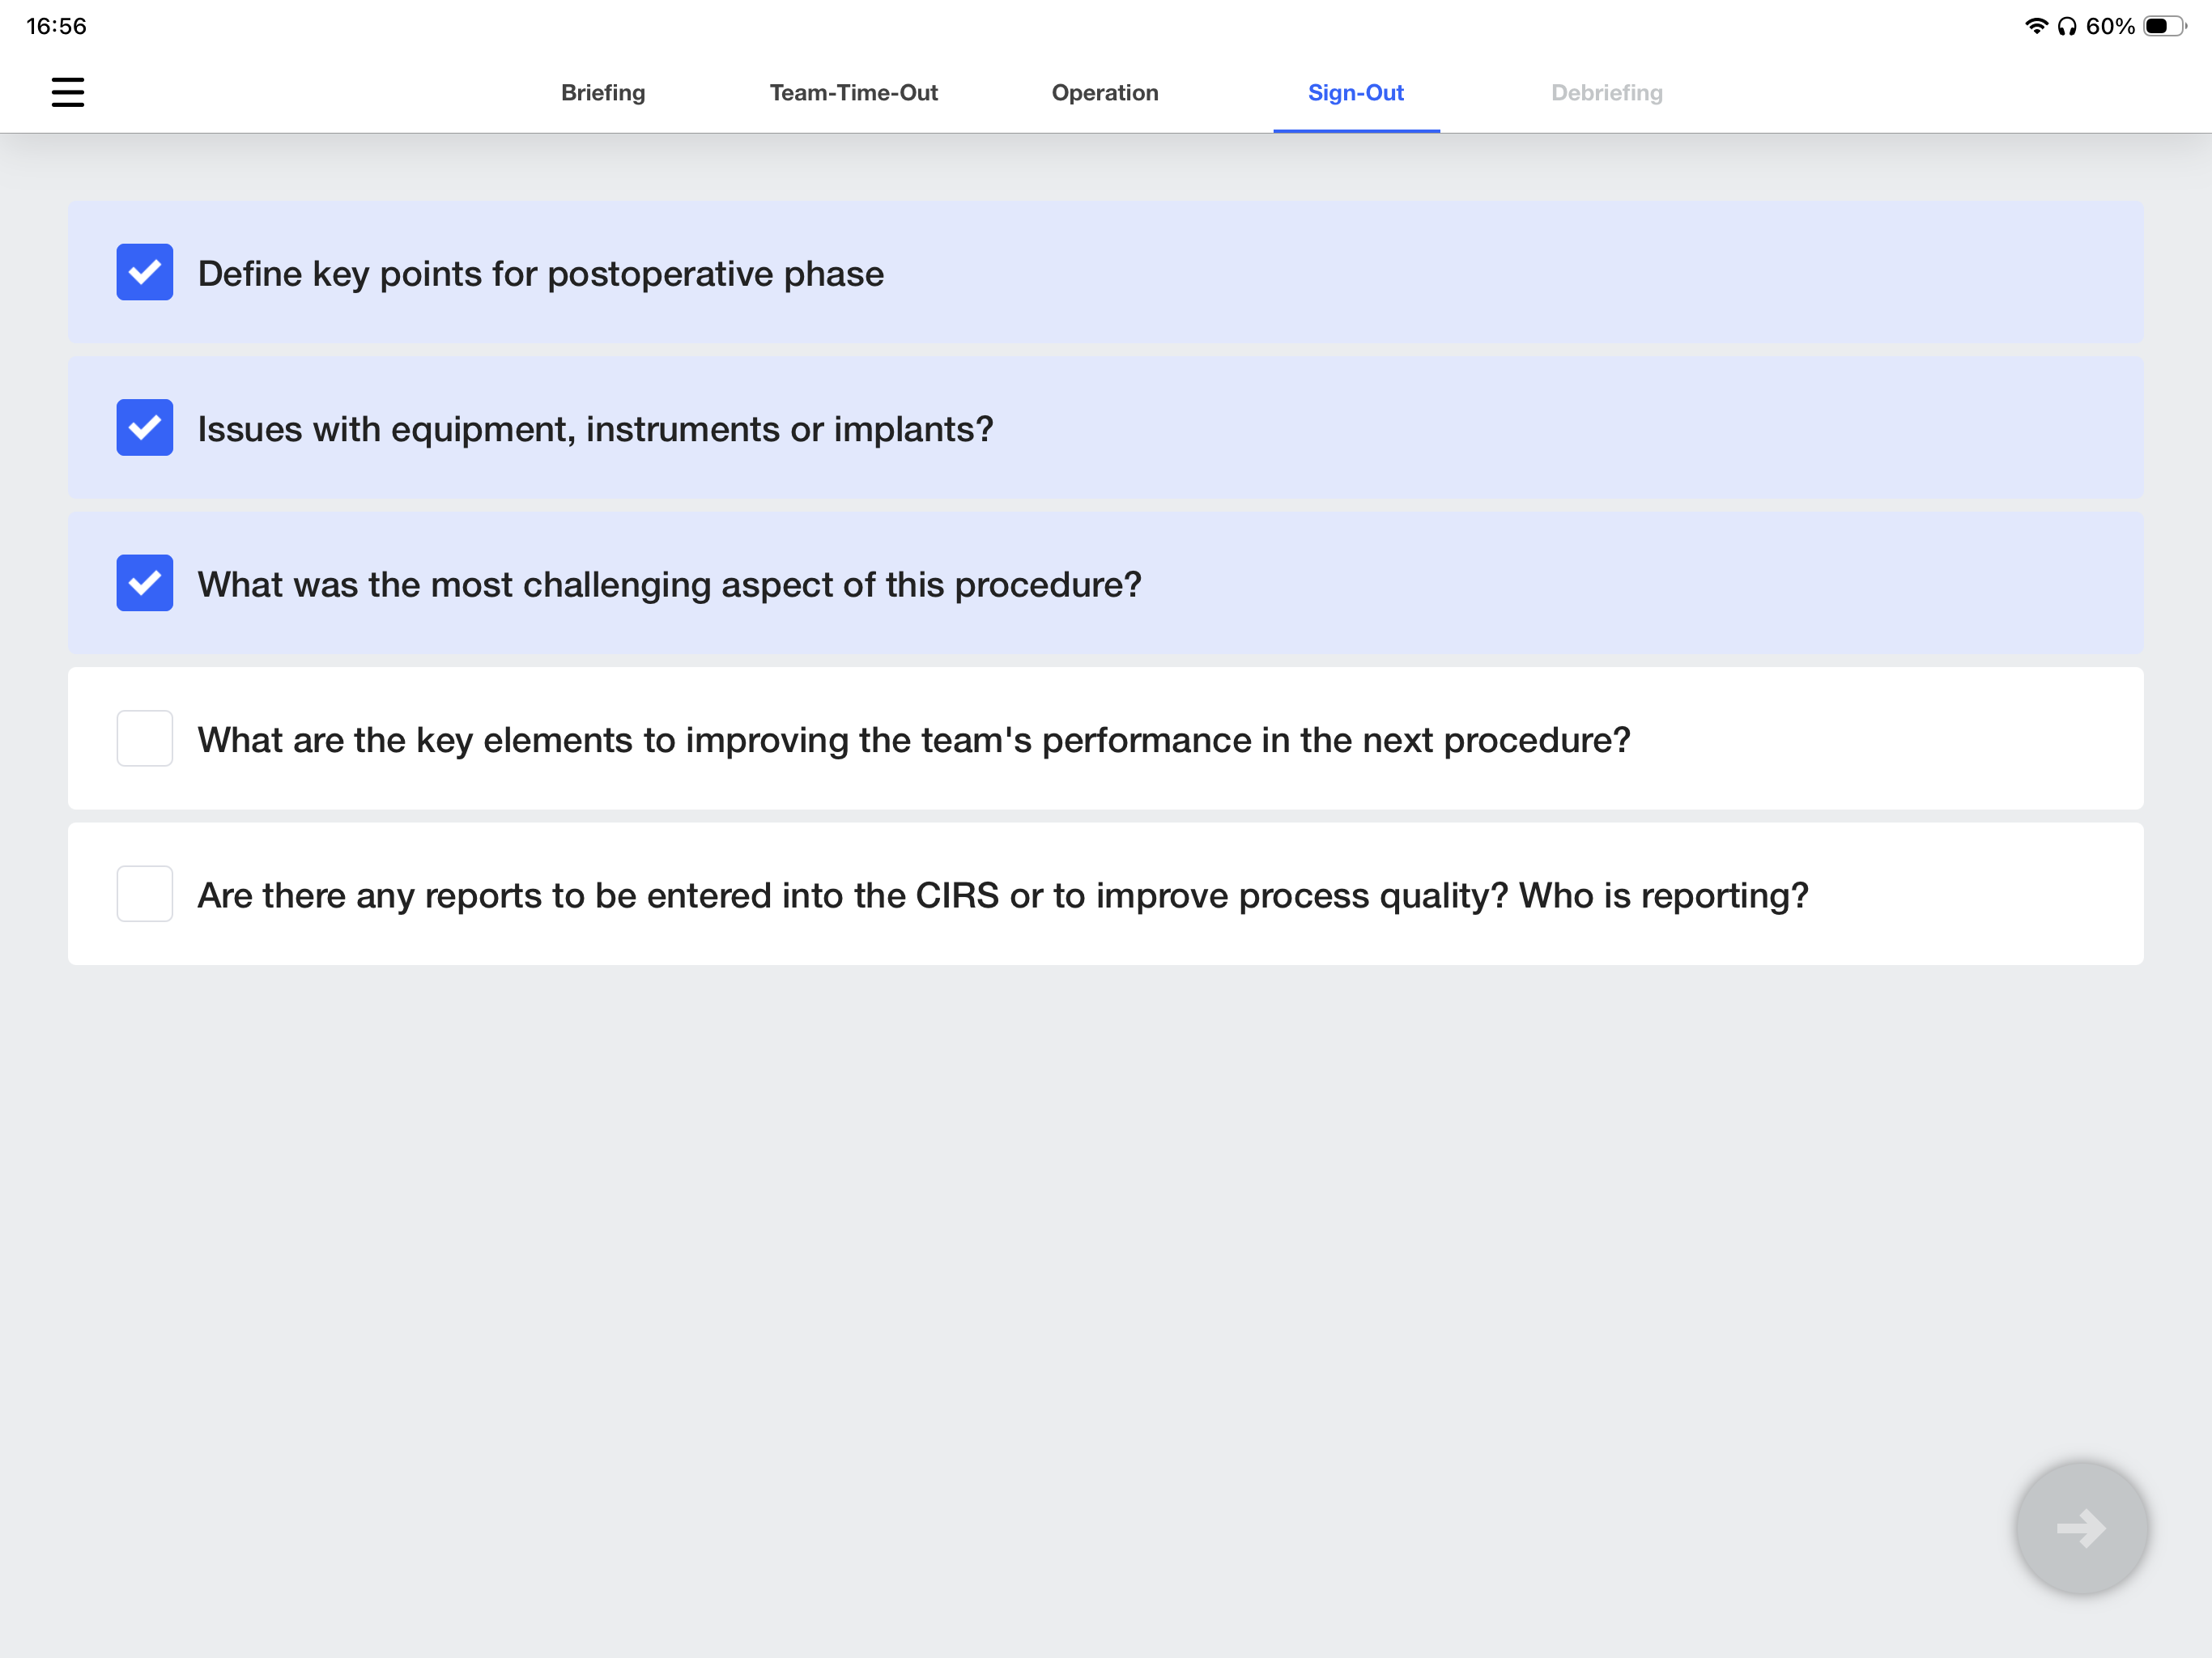
Before moving to the debriefing section, go through the predefined Sign-Out checklist.
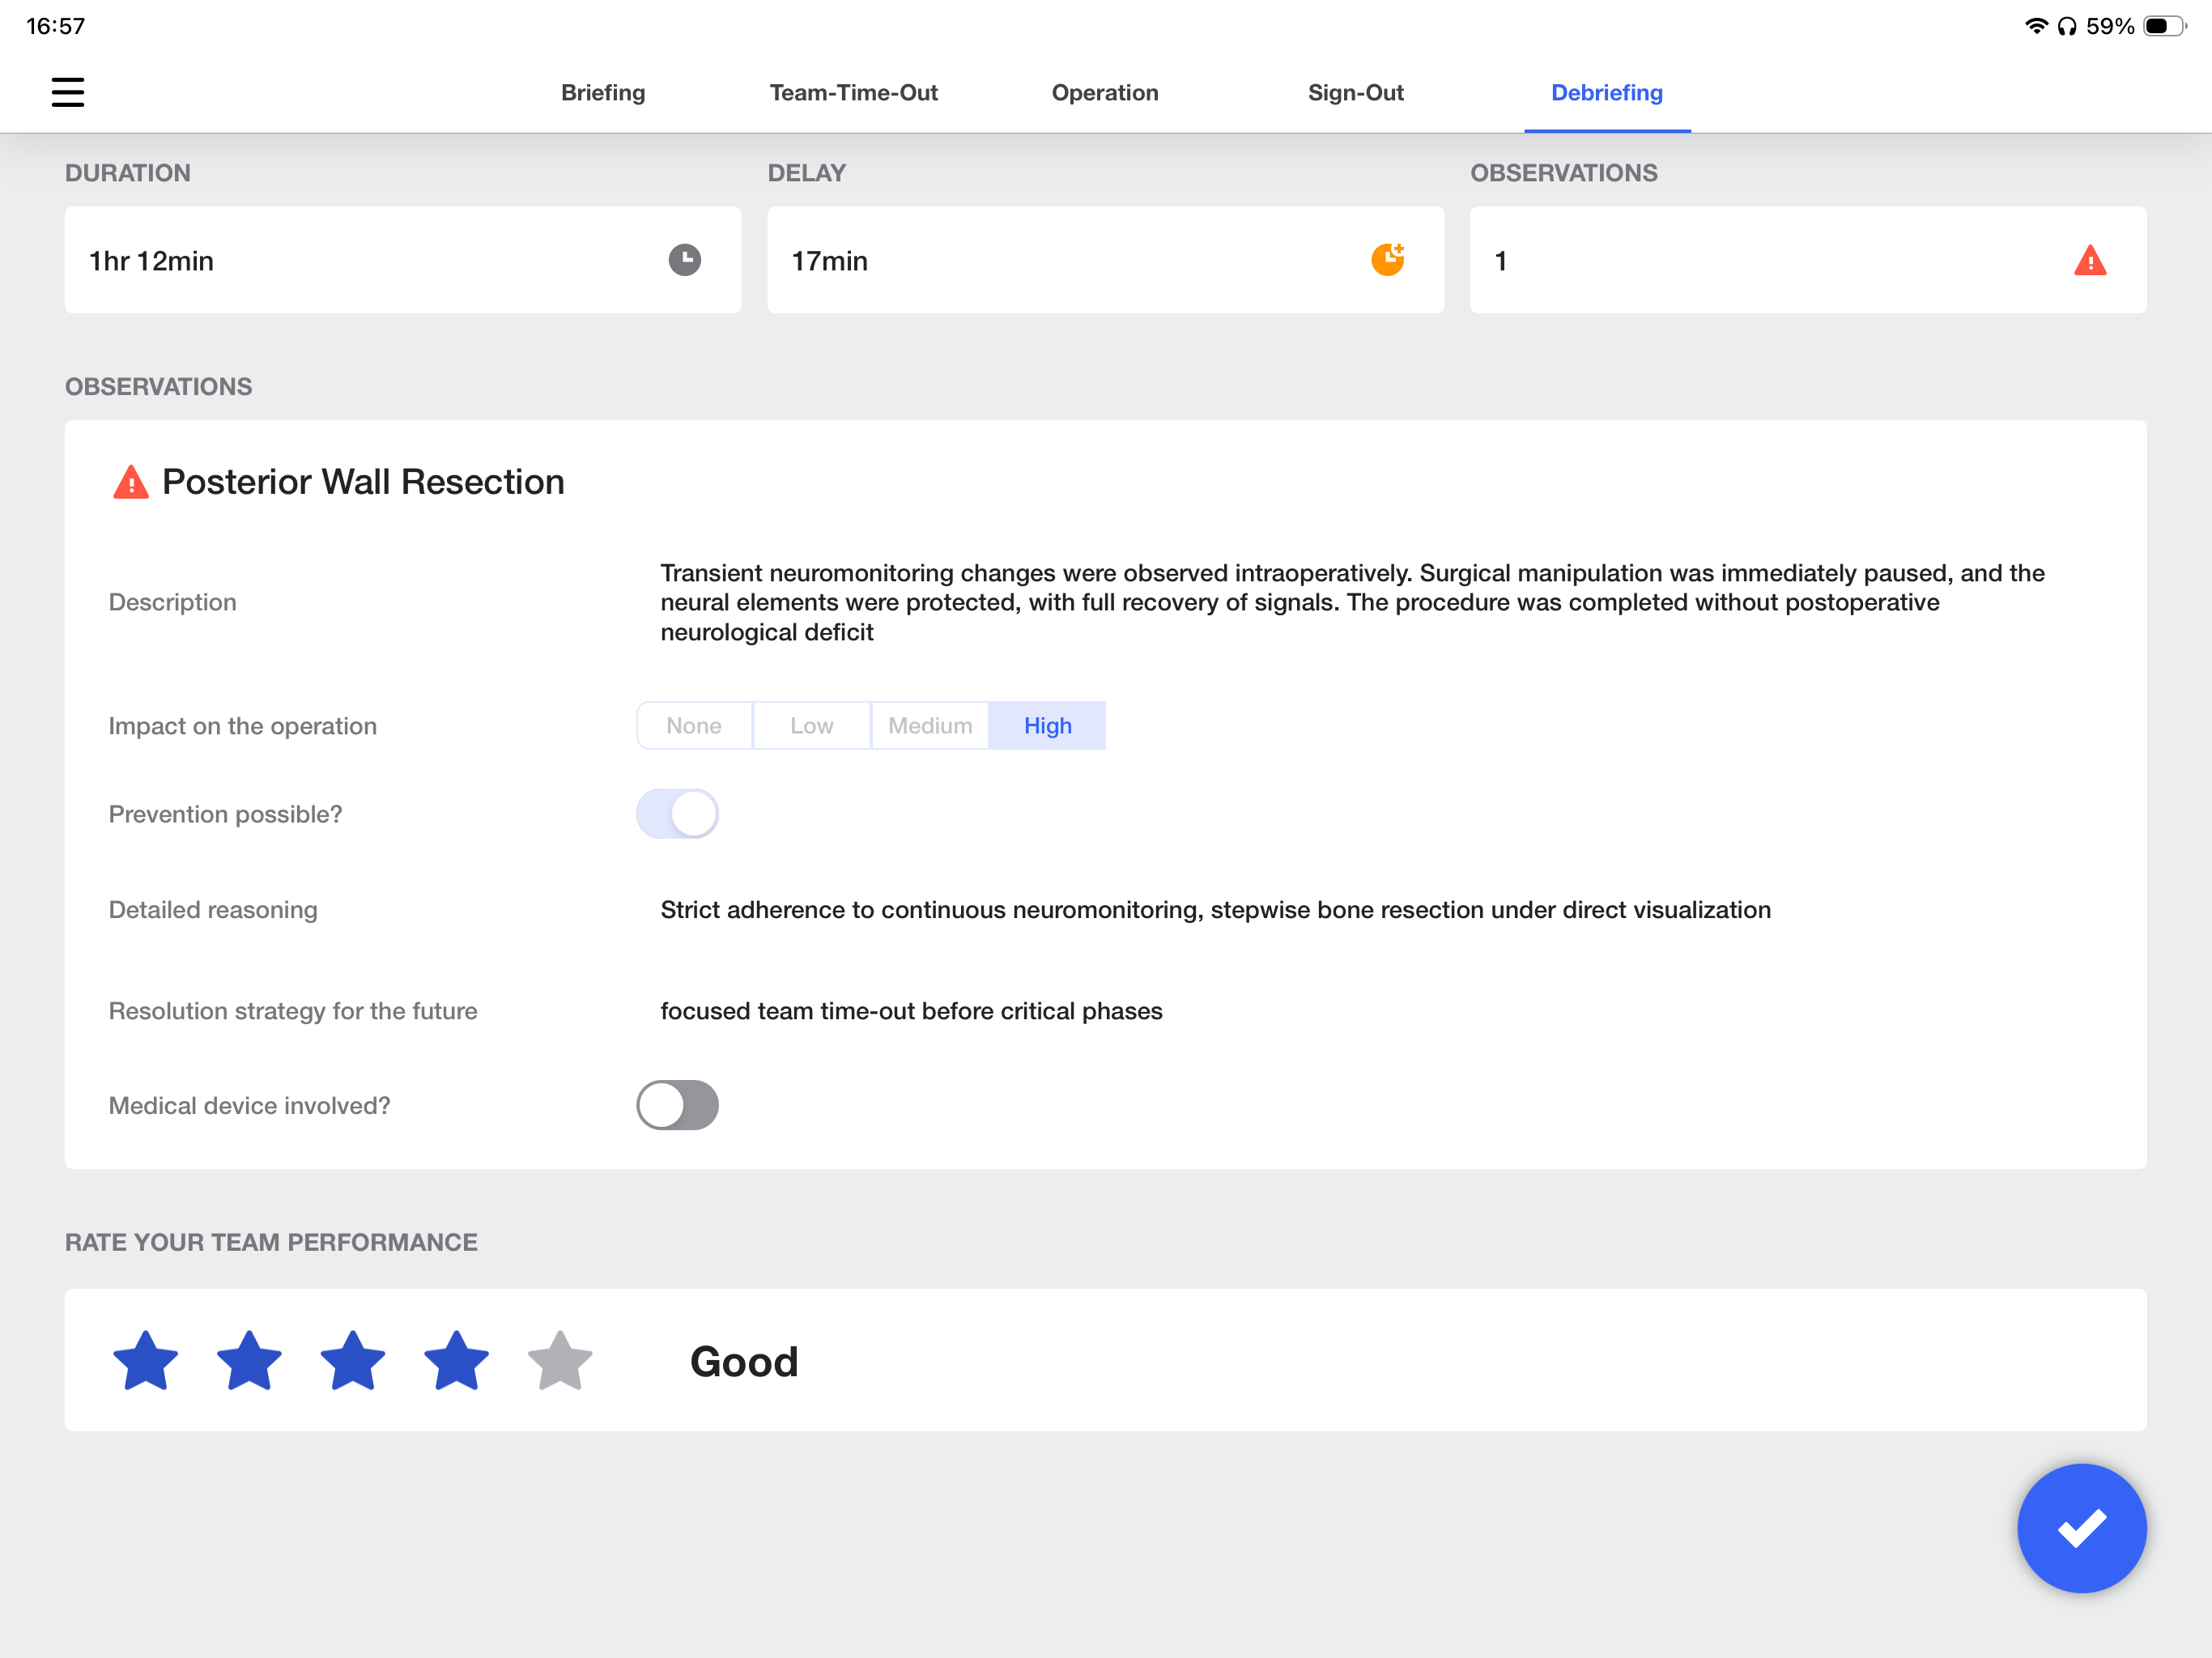
The last tab is the debriefing section where you see your team's statistics as well as any observation you marked. In case you marked one, please fill out the information. If time does not allow it, you can always complete the information in the 'History' section of the Web Application.